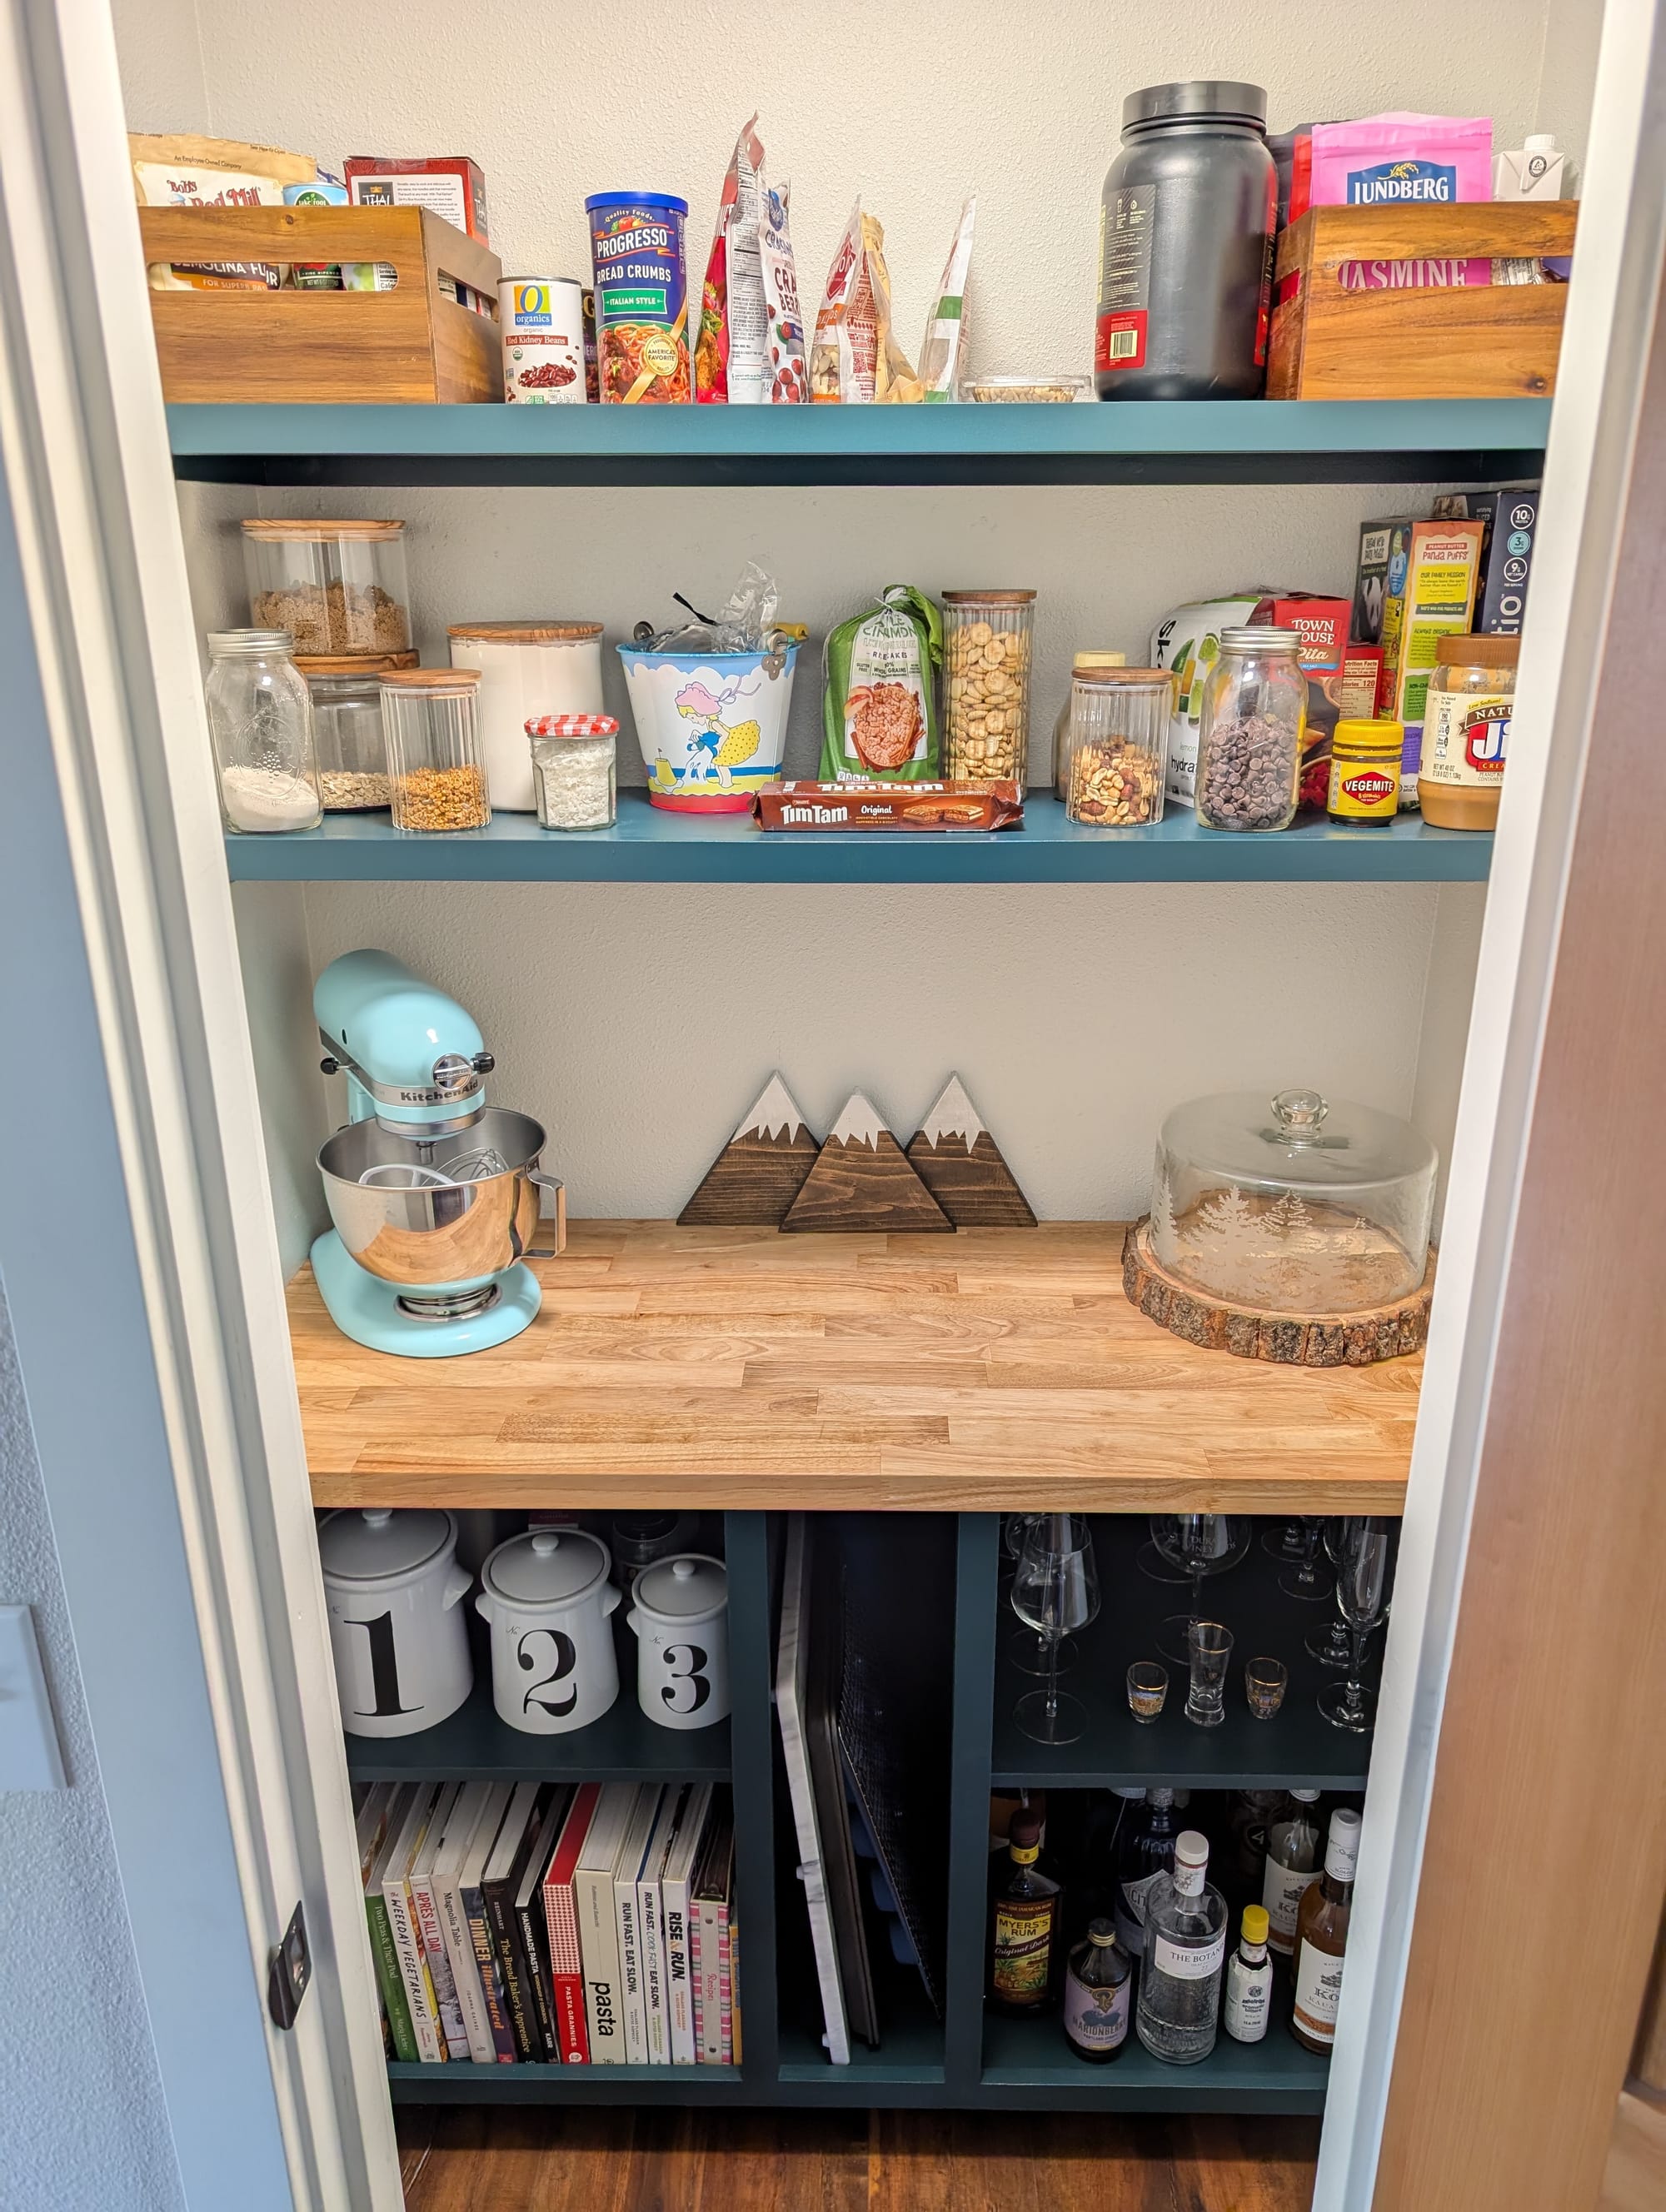
Pantry Renovation
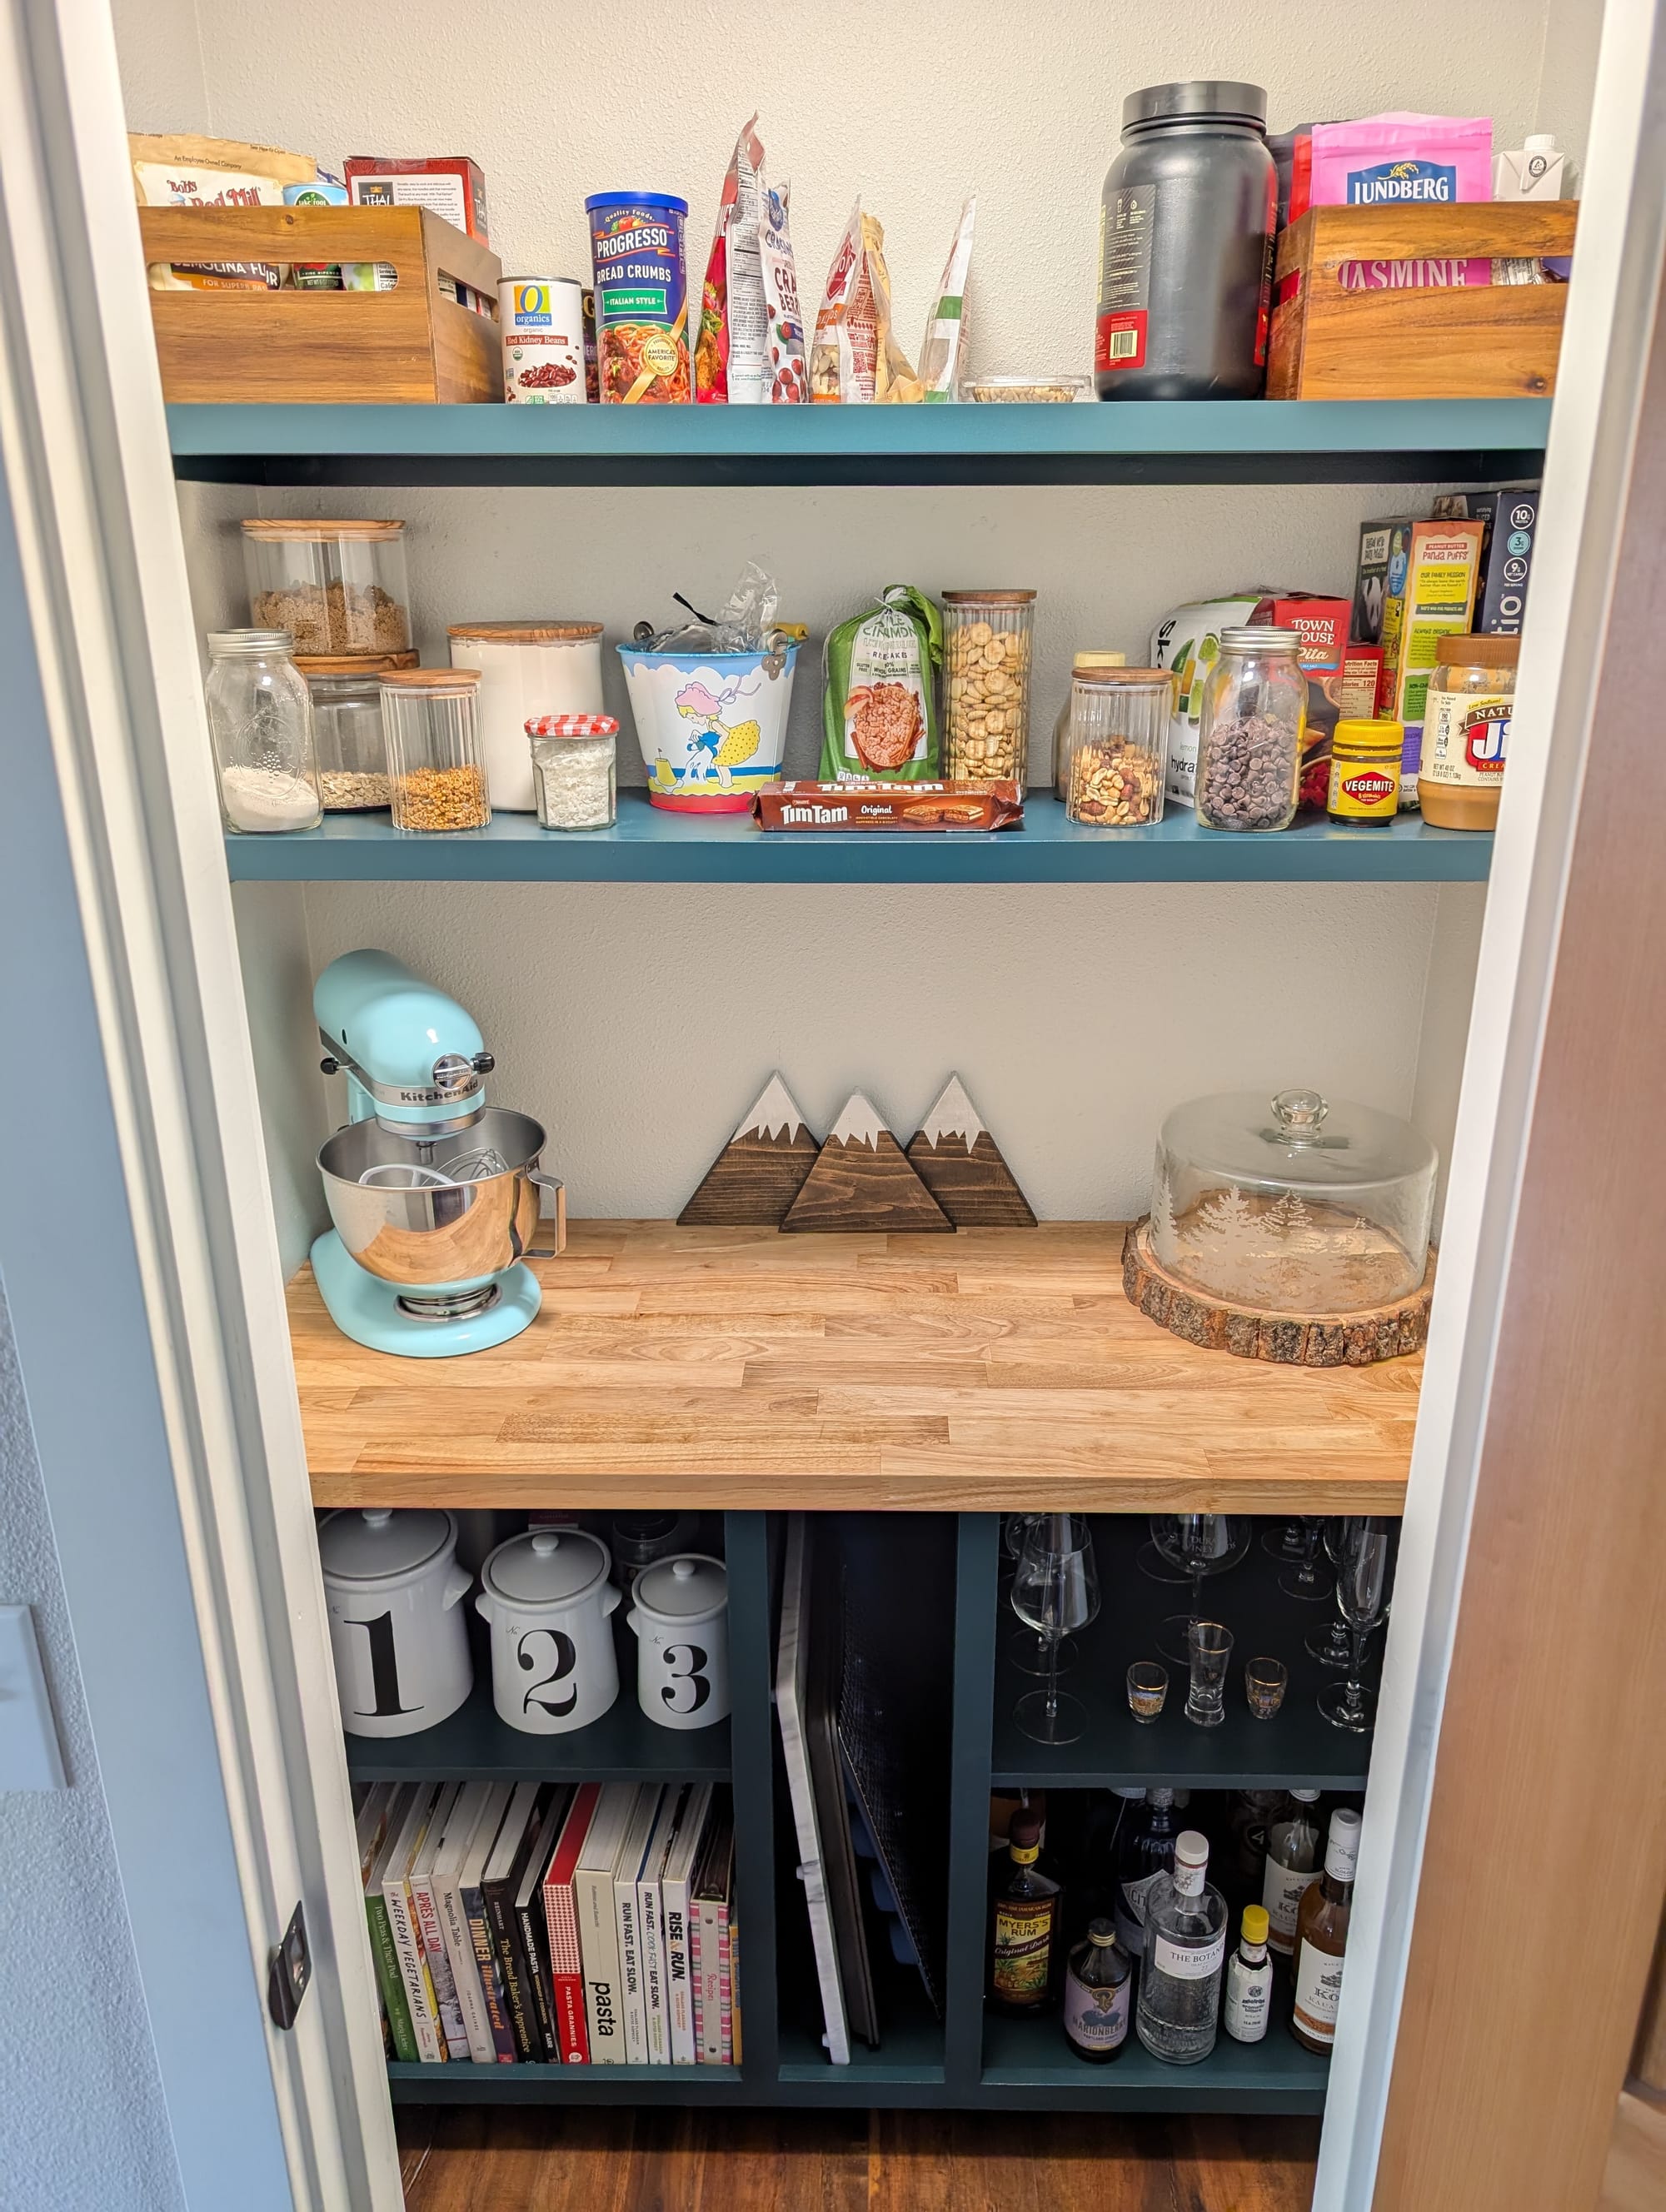
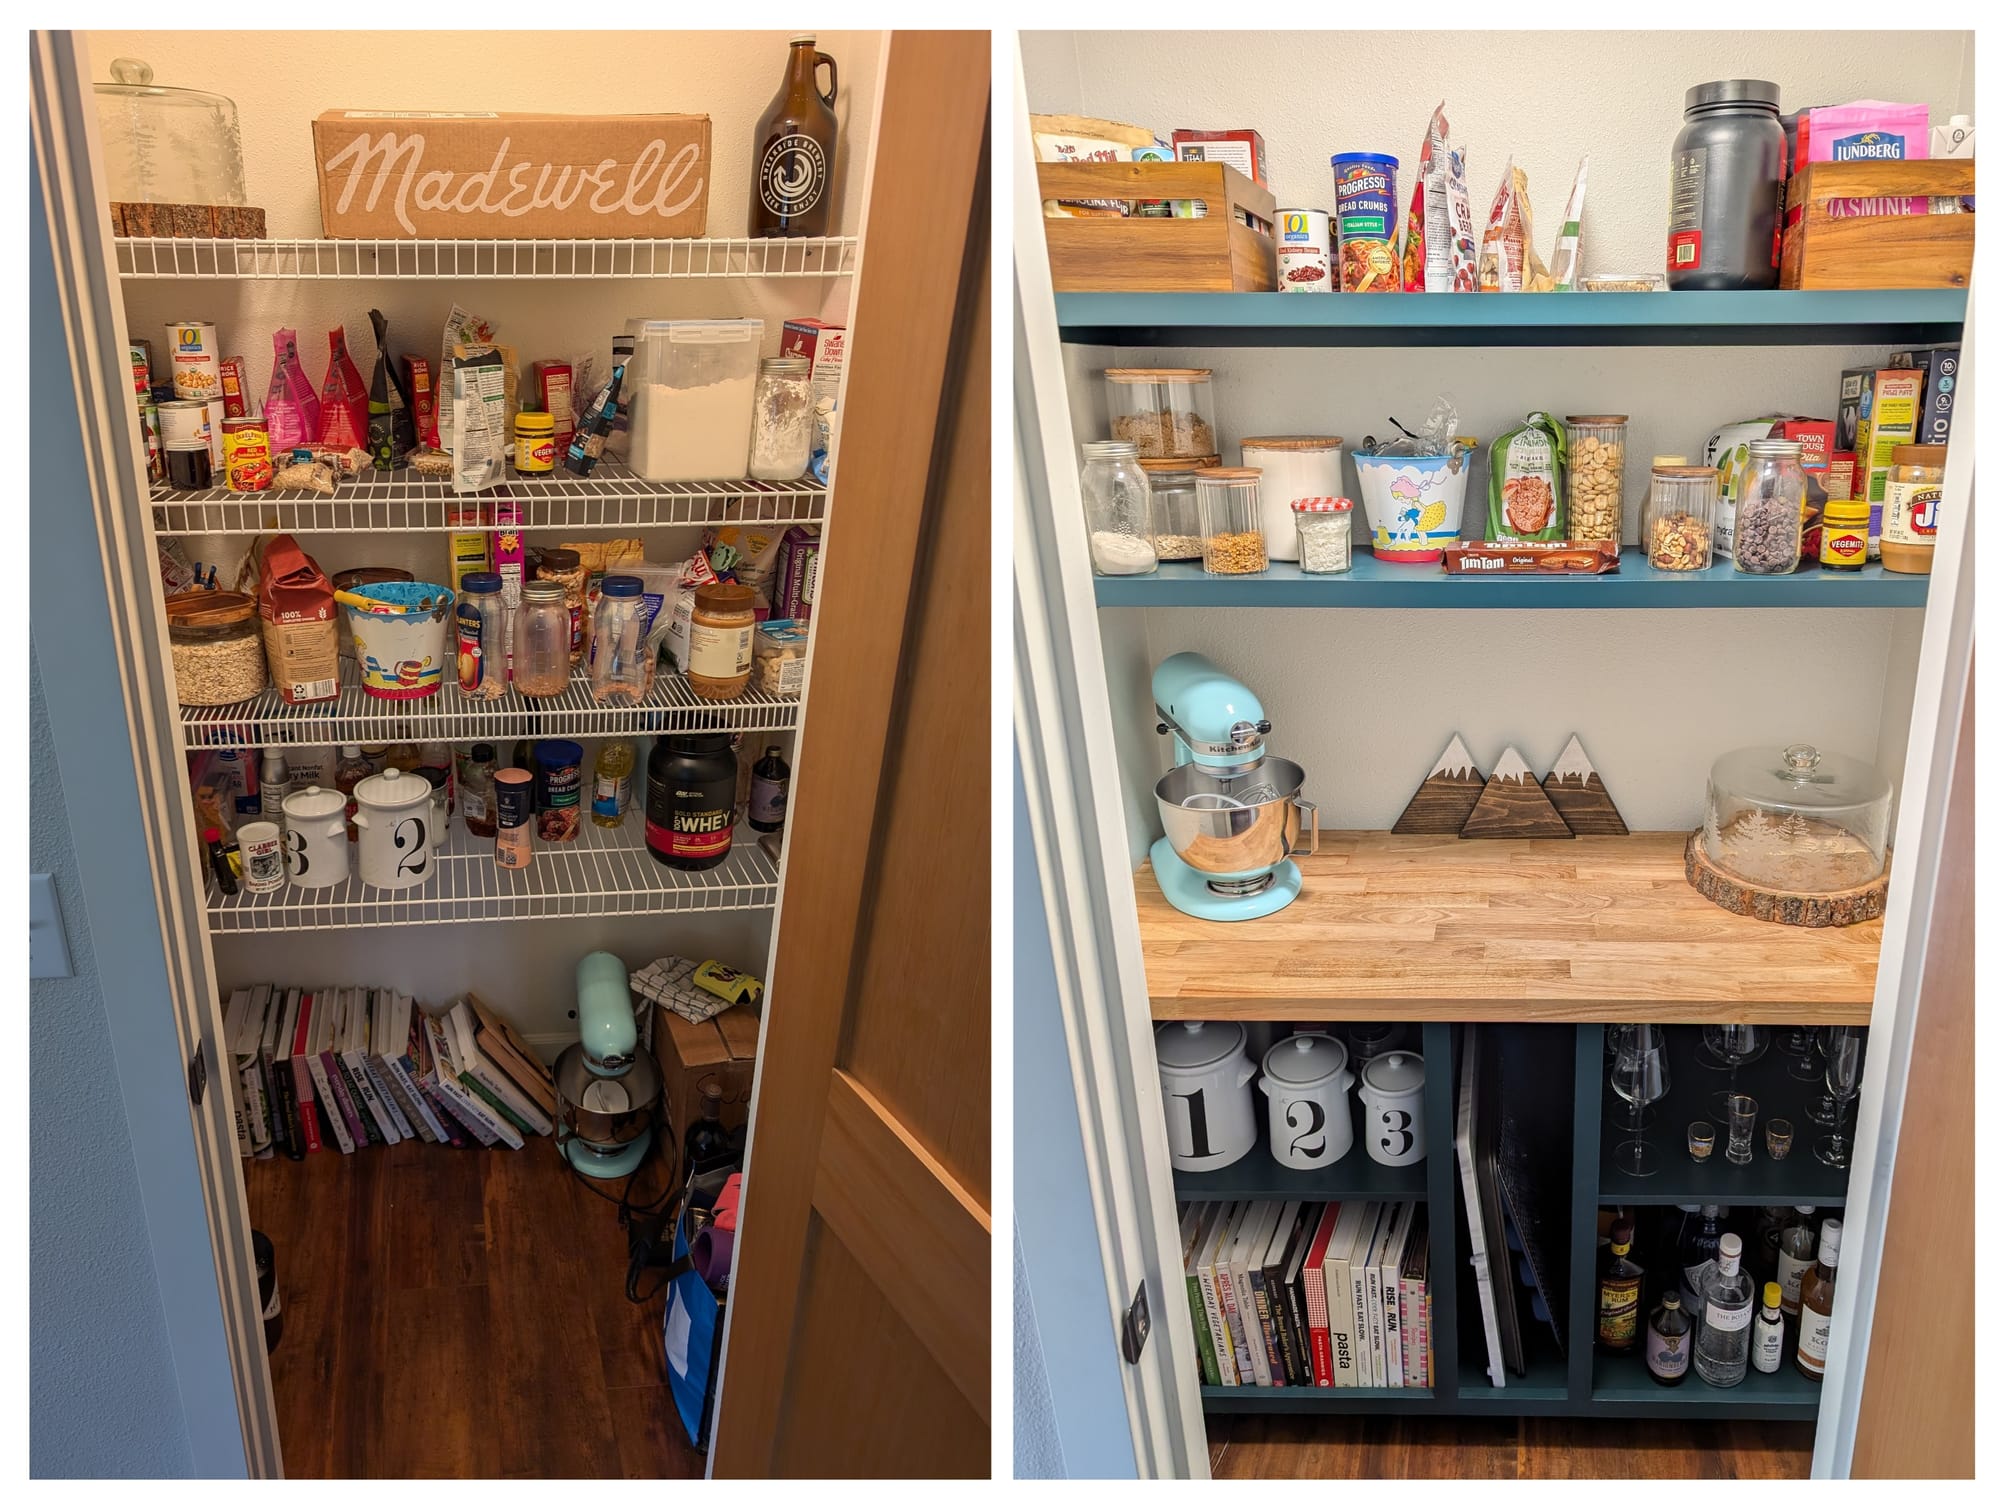
Our first big DIY project in our new house was to replace the wire rack shelves in the pantry with a built in cabinet and wooden shelves. This project ended up being a bit more complicated than expected but turned out great at the end!
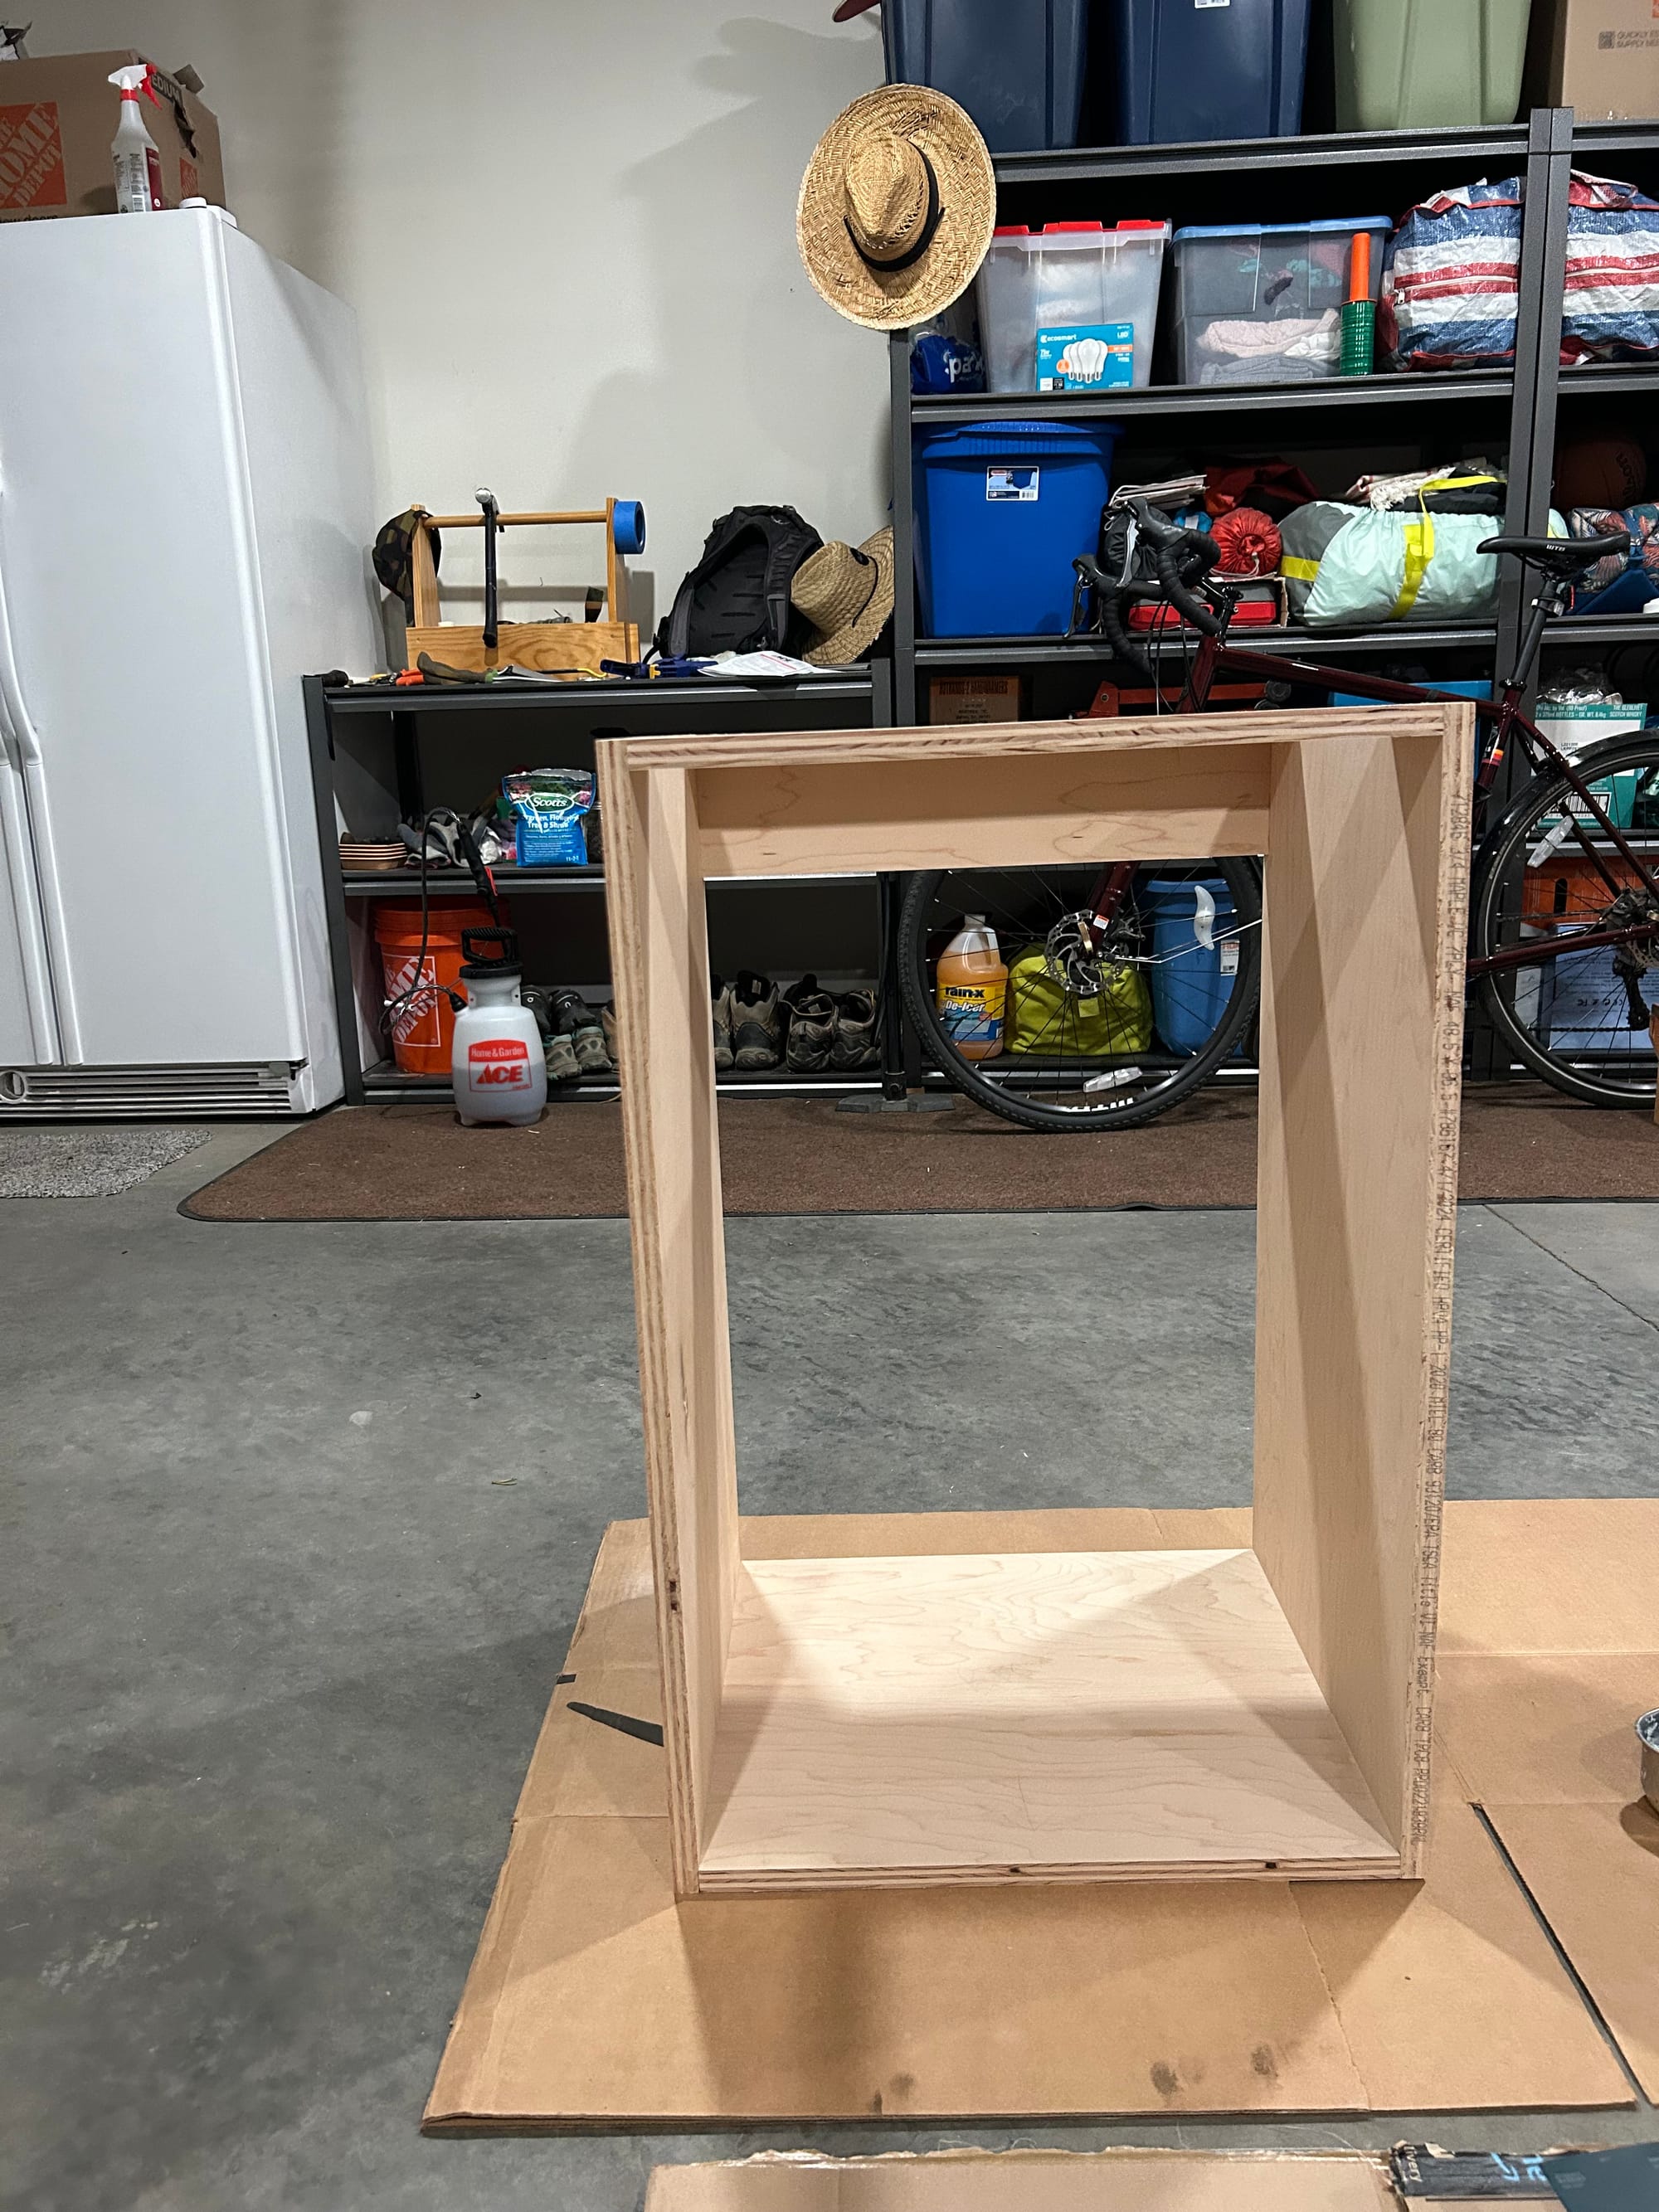
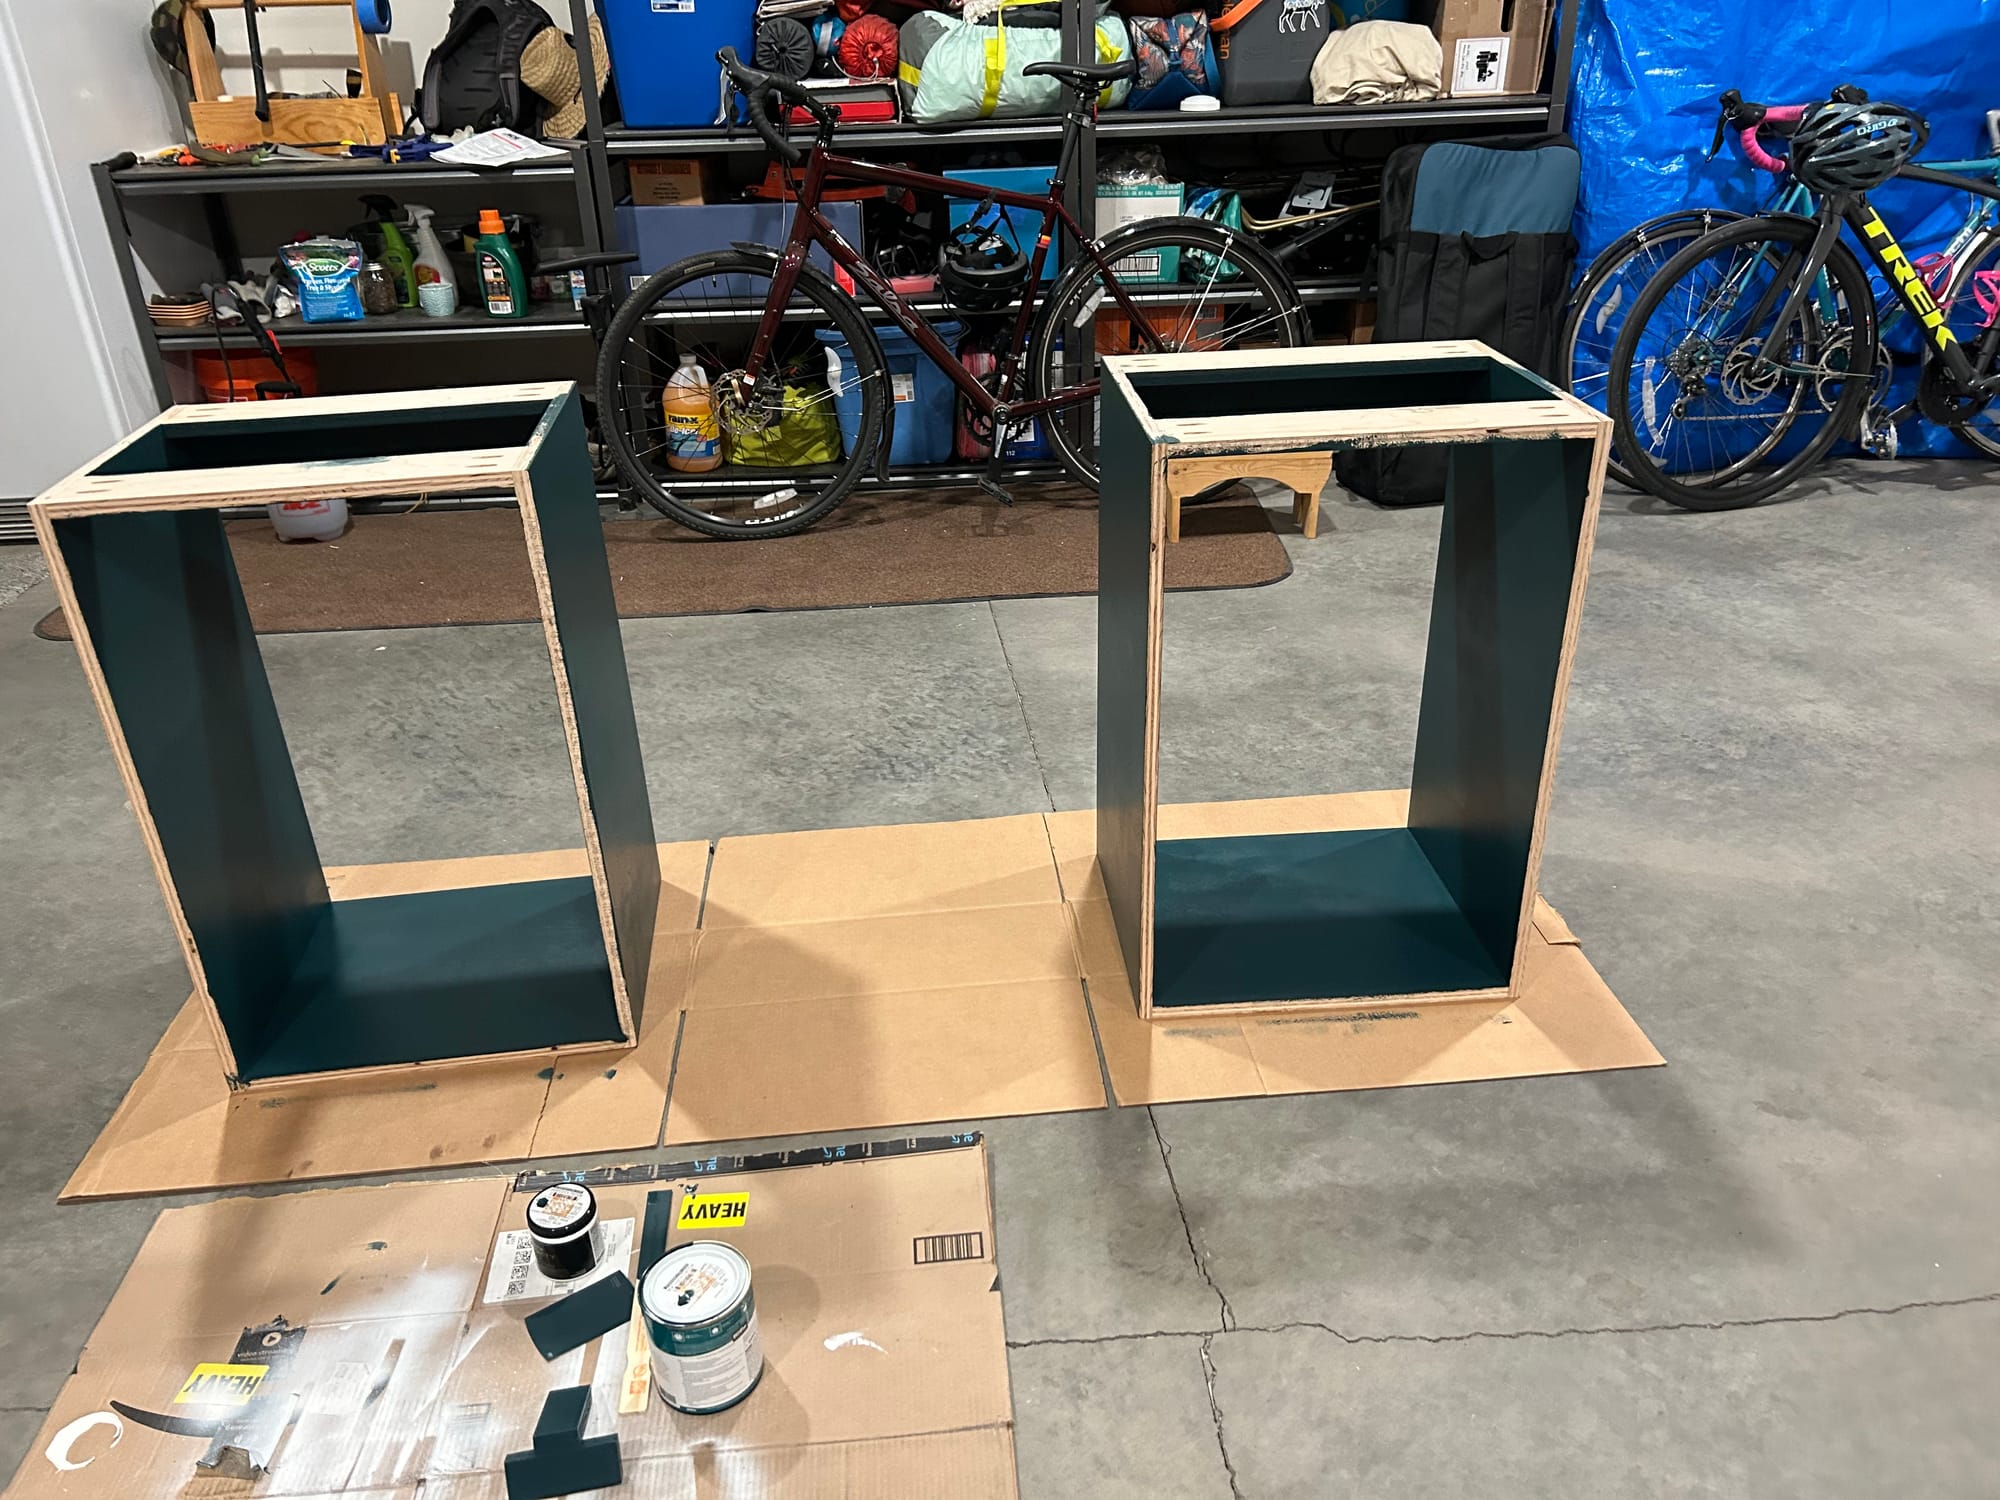
To start out the pantry build we started with building two cabinets which would go in the base of the pantry.
Next it was time to choose some paint colors for the cabinets and the pantry walls. We decided to go neutral on the wall color and use a color on the cabinets as the accent for the room.
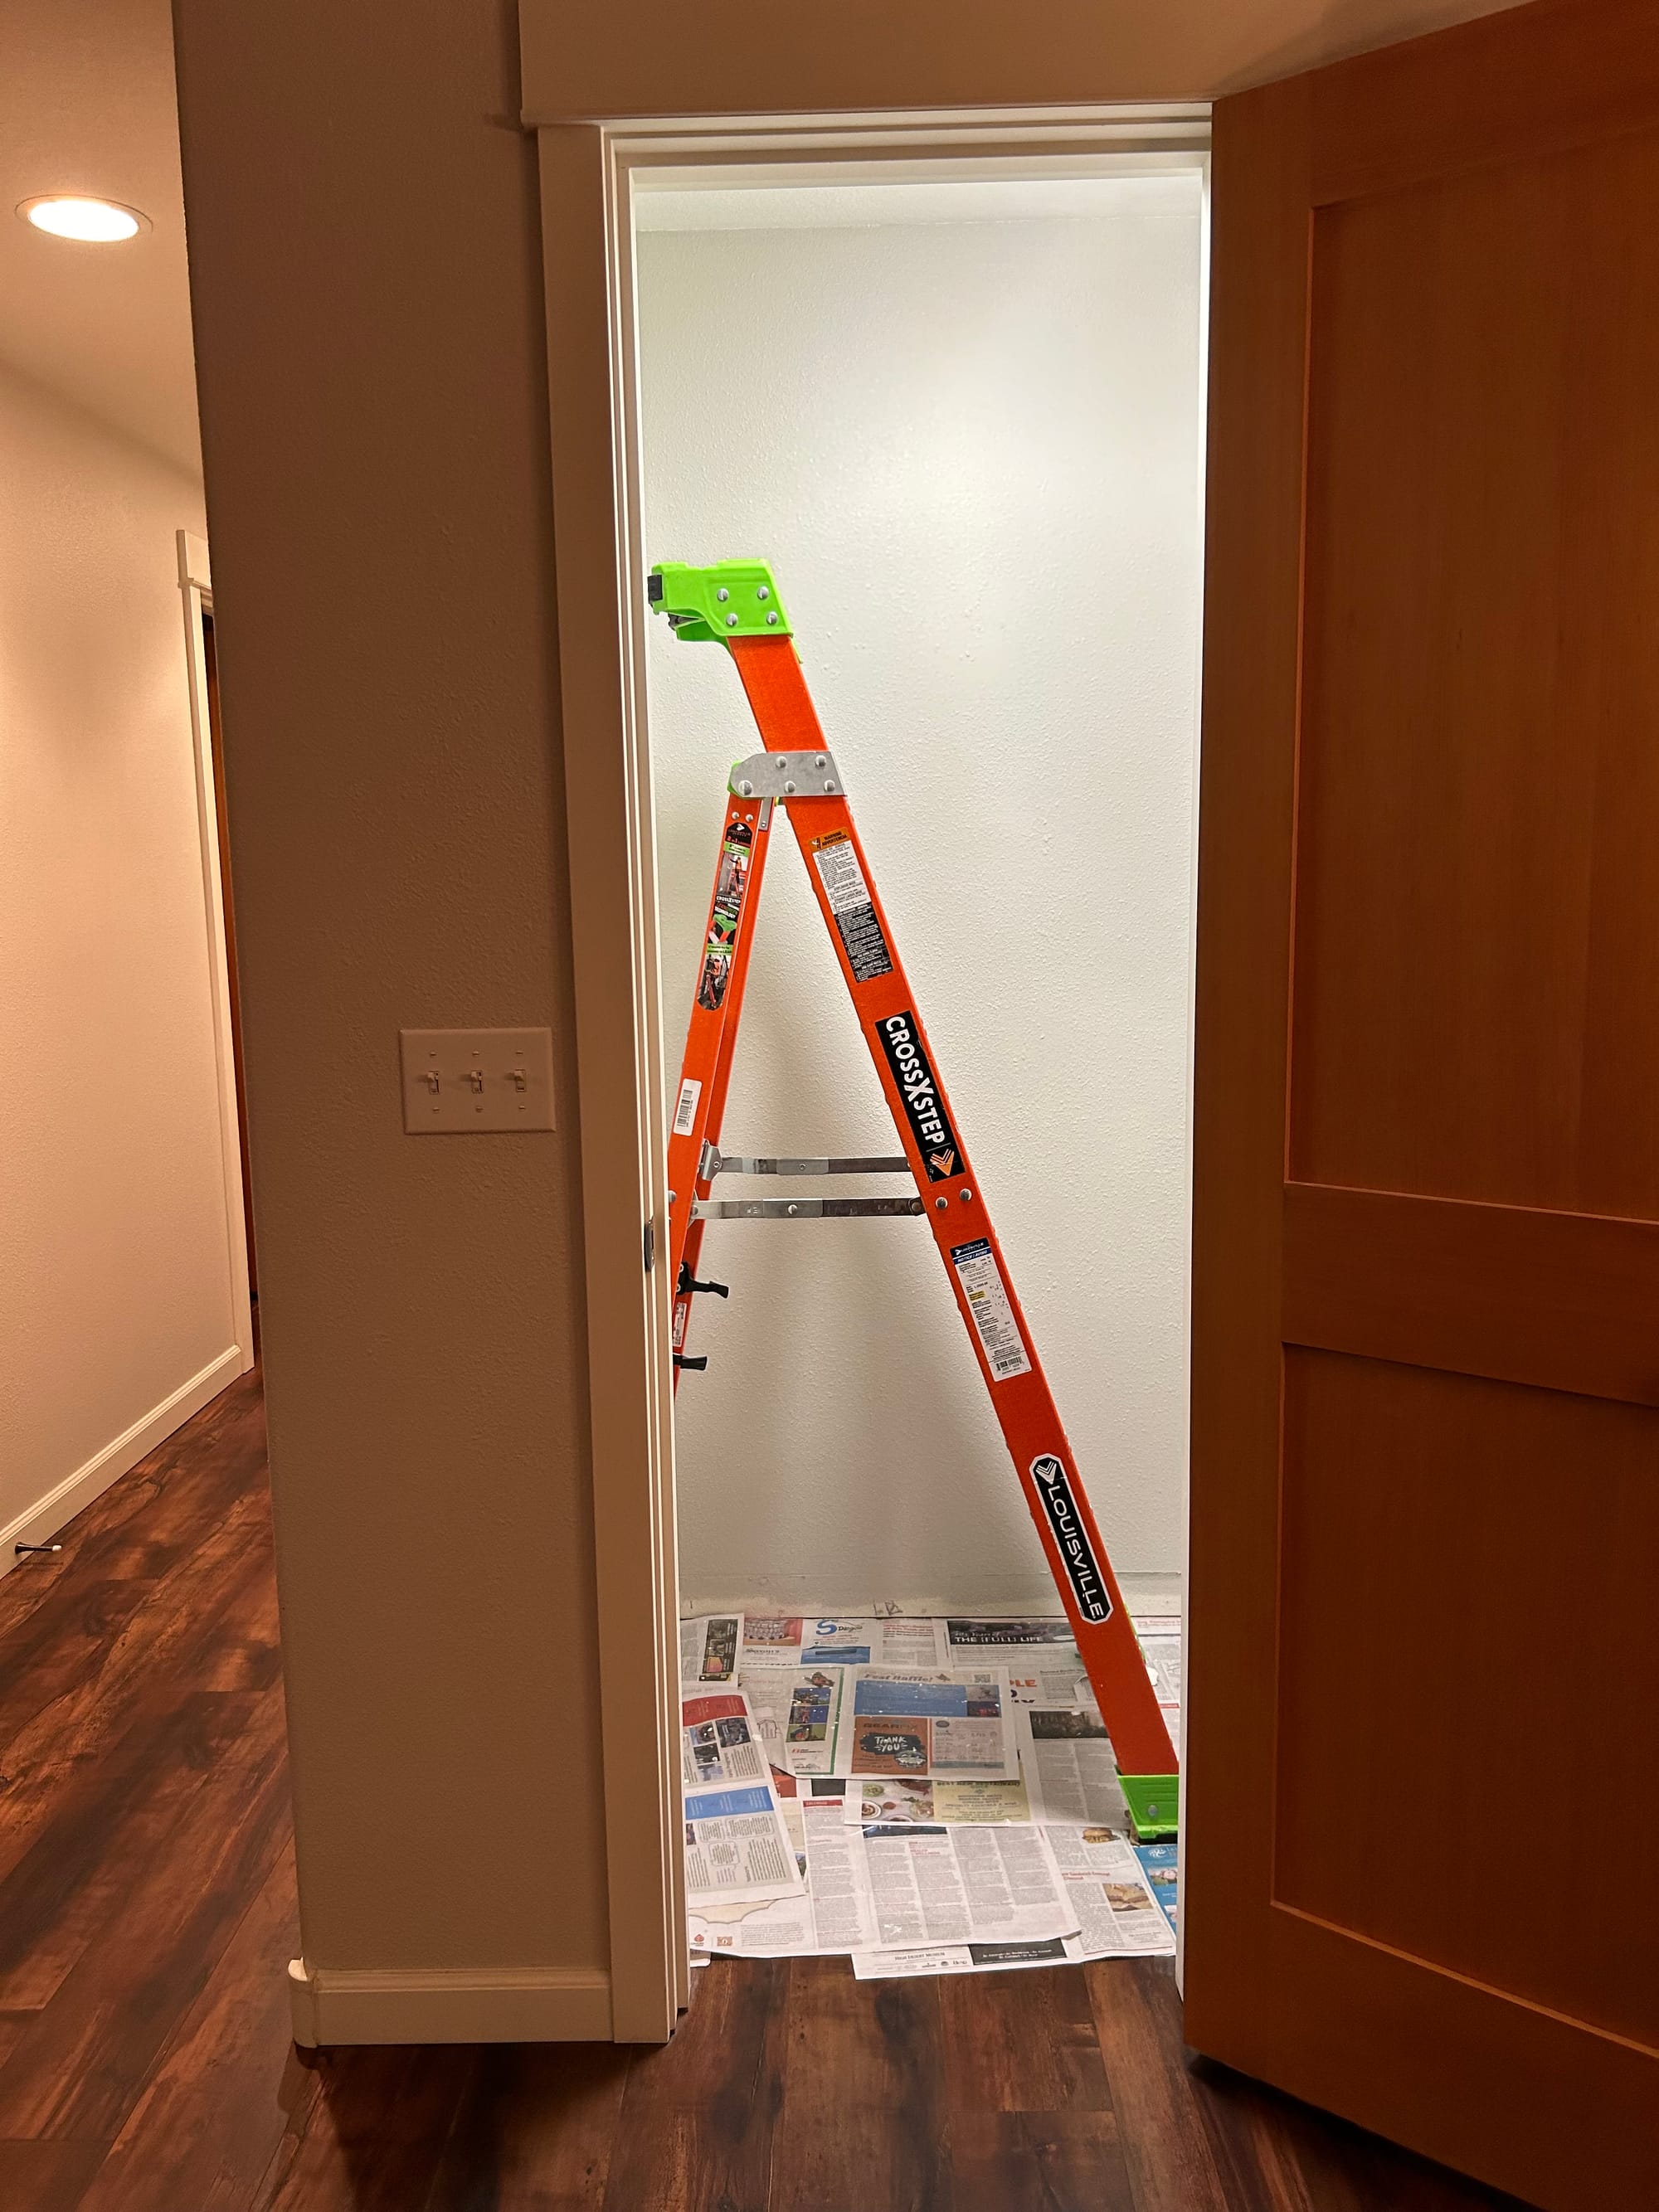
After we had the paint colors we took apart the old pantry and patched the previous holes. We removed the old light fixture and trim. Now we were ready to paint the ceiling, walls and cabinets. While the room was empty we also replaced the light fixture.
After everything was all painted now it was time to fit the cabinets. We made two cabinets and would have a mock cabinet in between them as a space for taller items, like cookie sheets. Then we attached the face frames.
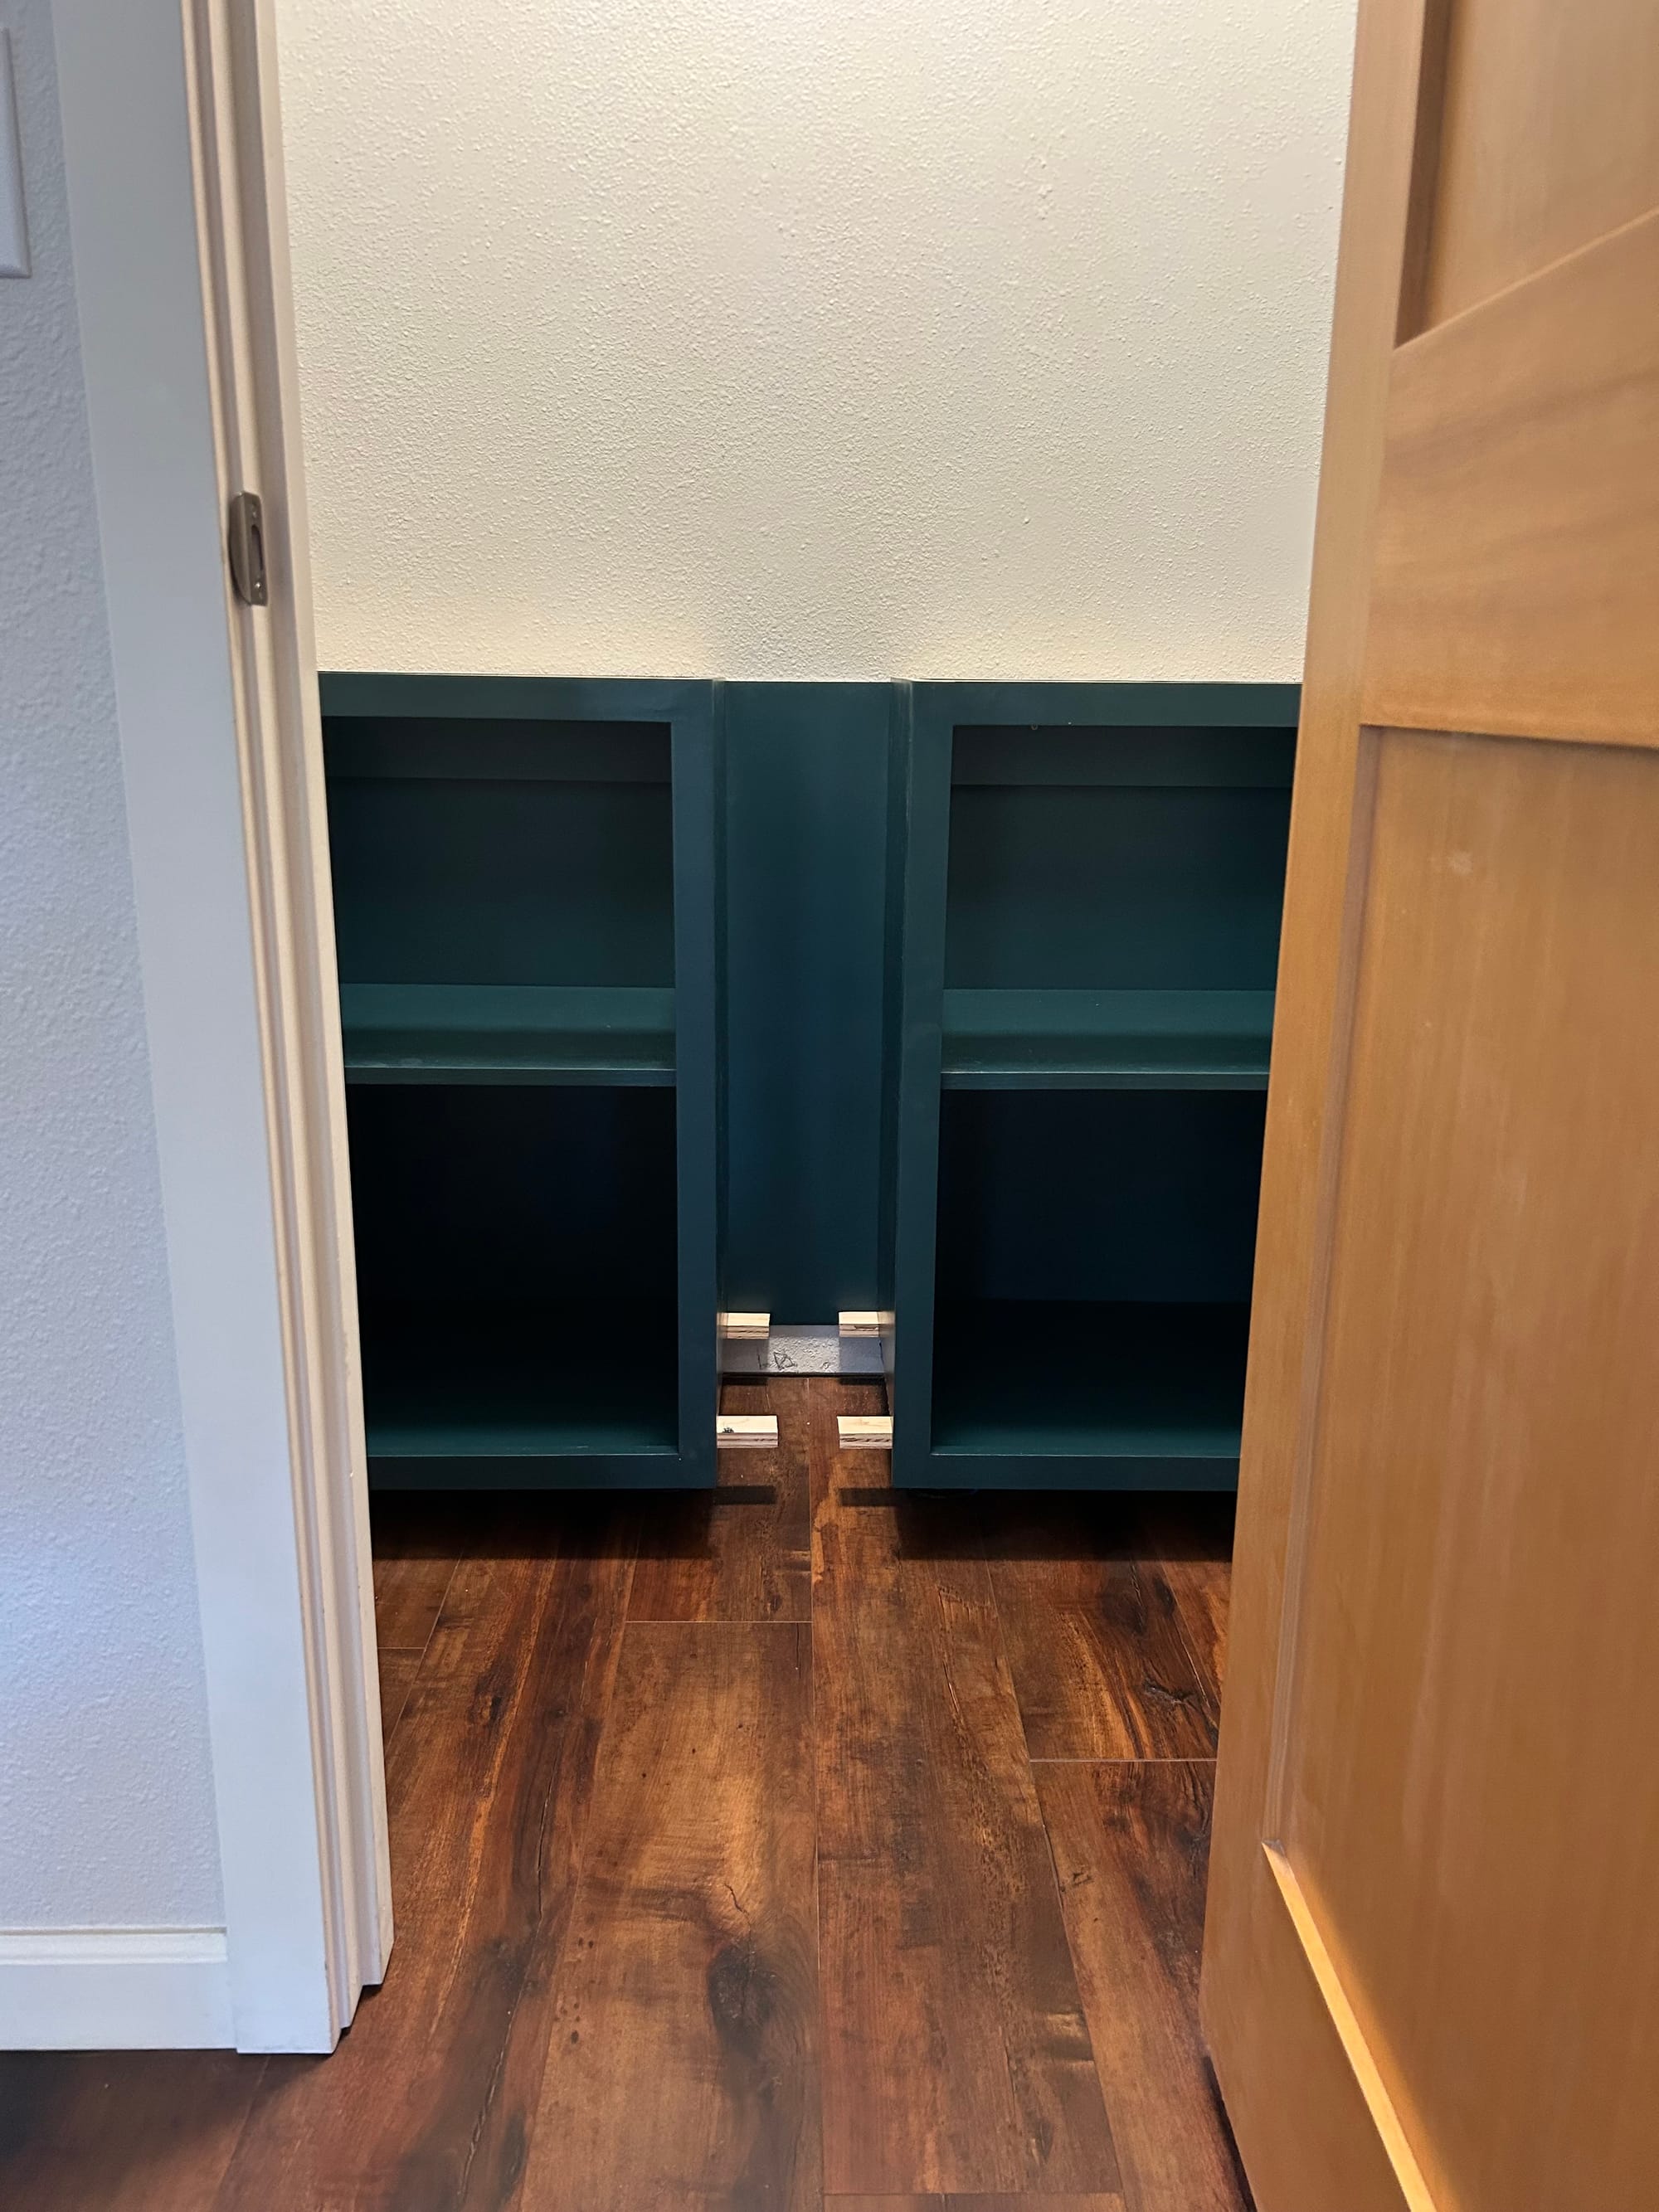
We used adjustable legs to level the cabinets and once they were level we added the back of the cabinets. Next was to add the shelf for the larger middle section. The the final pieces for the cabinet were to install the toe kick and reattach the base boards.
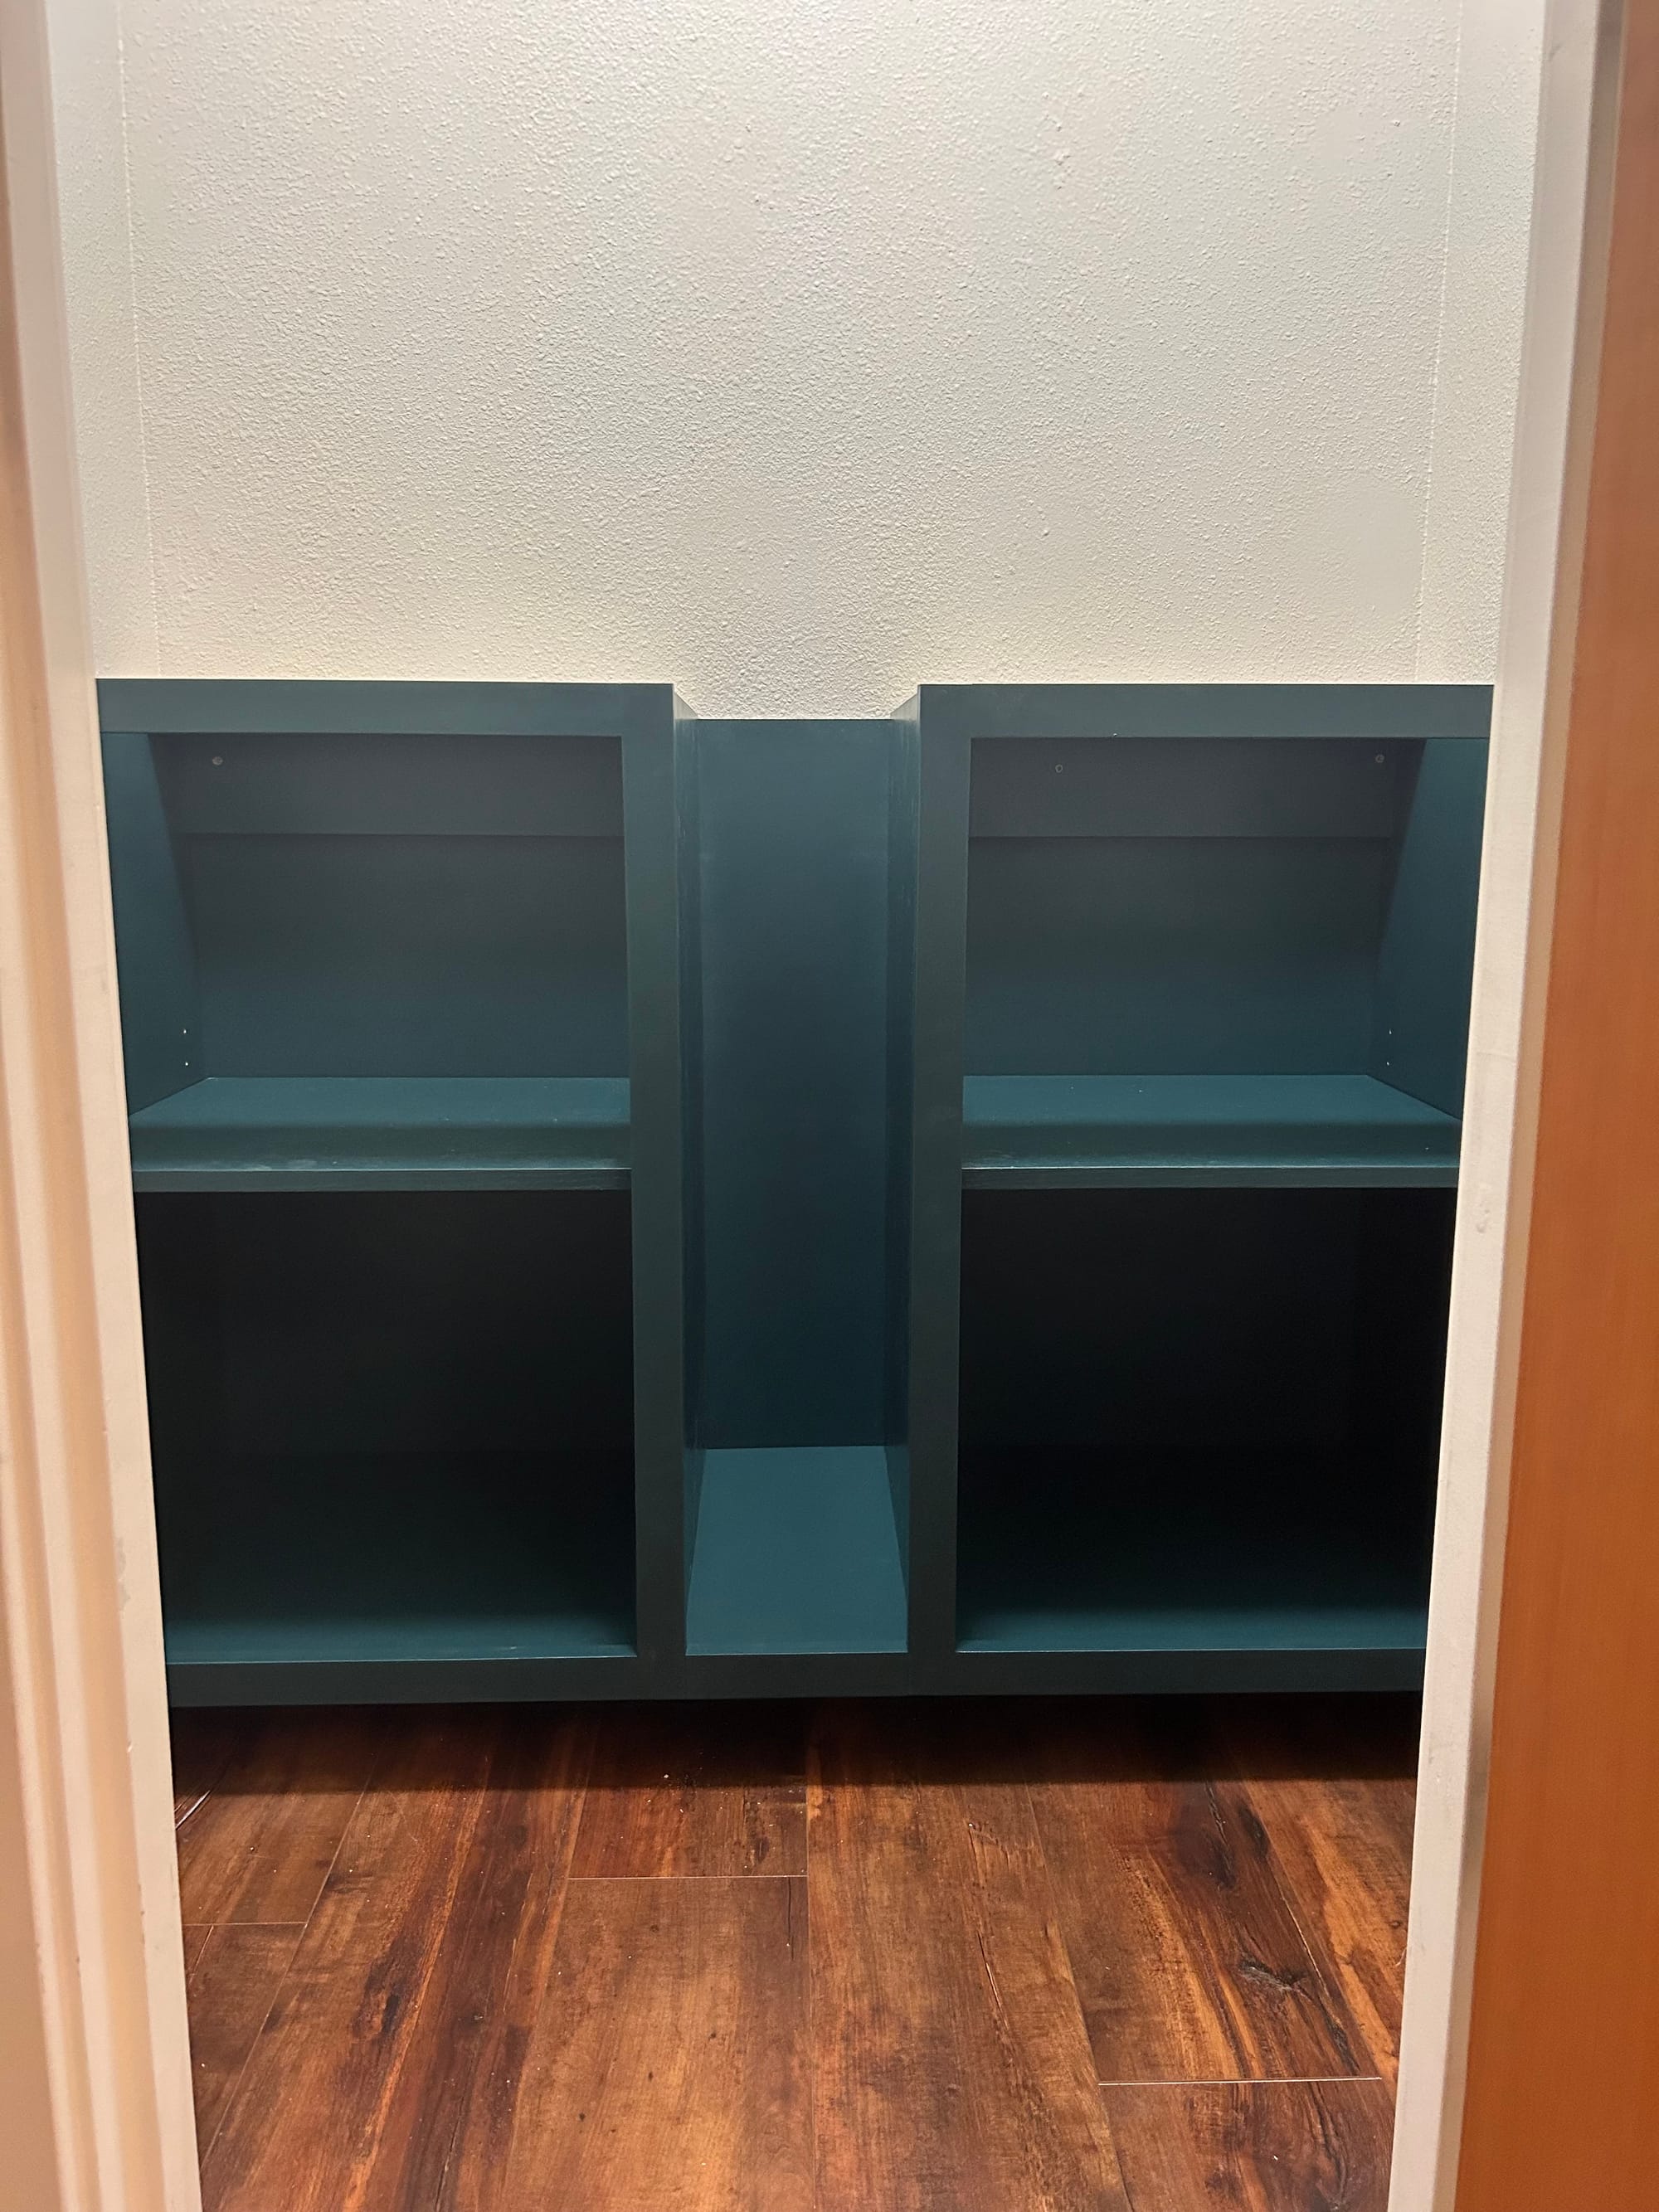
Once the cabinets were all in place, next was to make a template for how the butcher block needed to be cut for the top of the cabinets. With the template in hand we were able to cut the butcher block to fit the space.
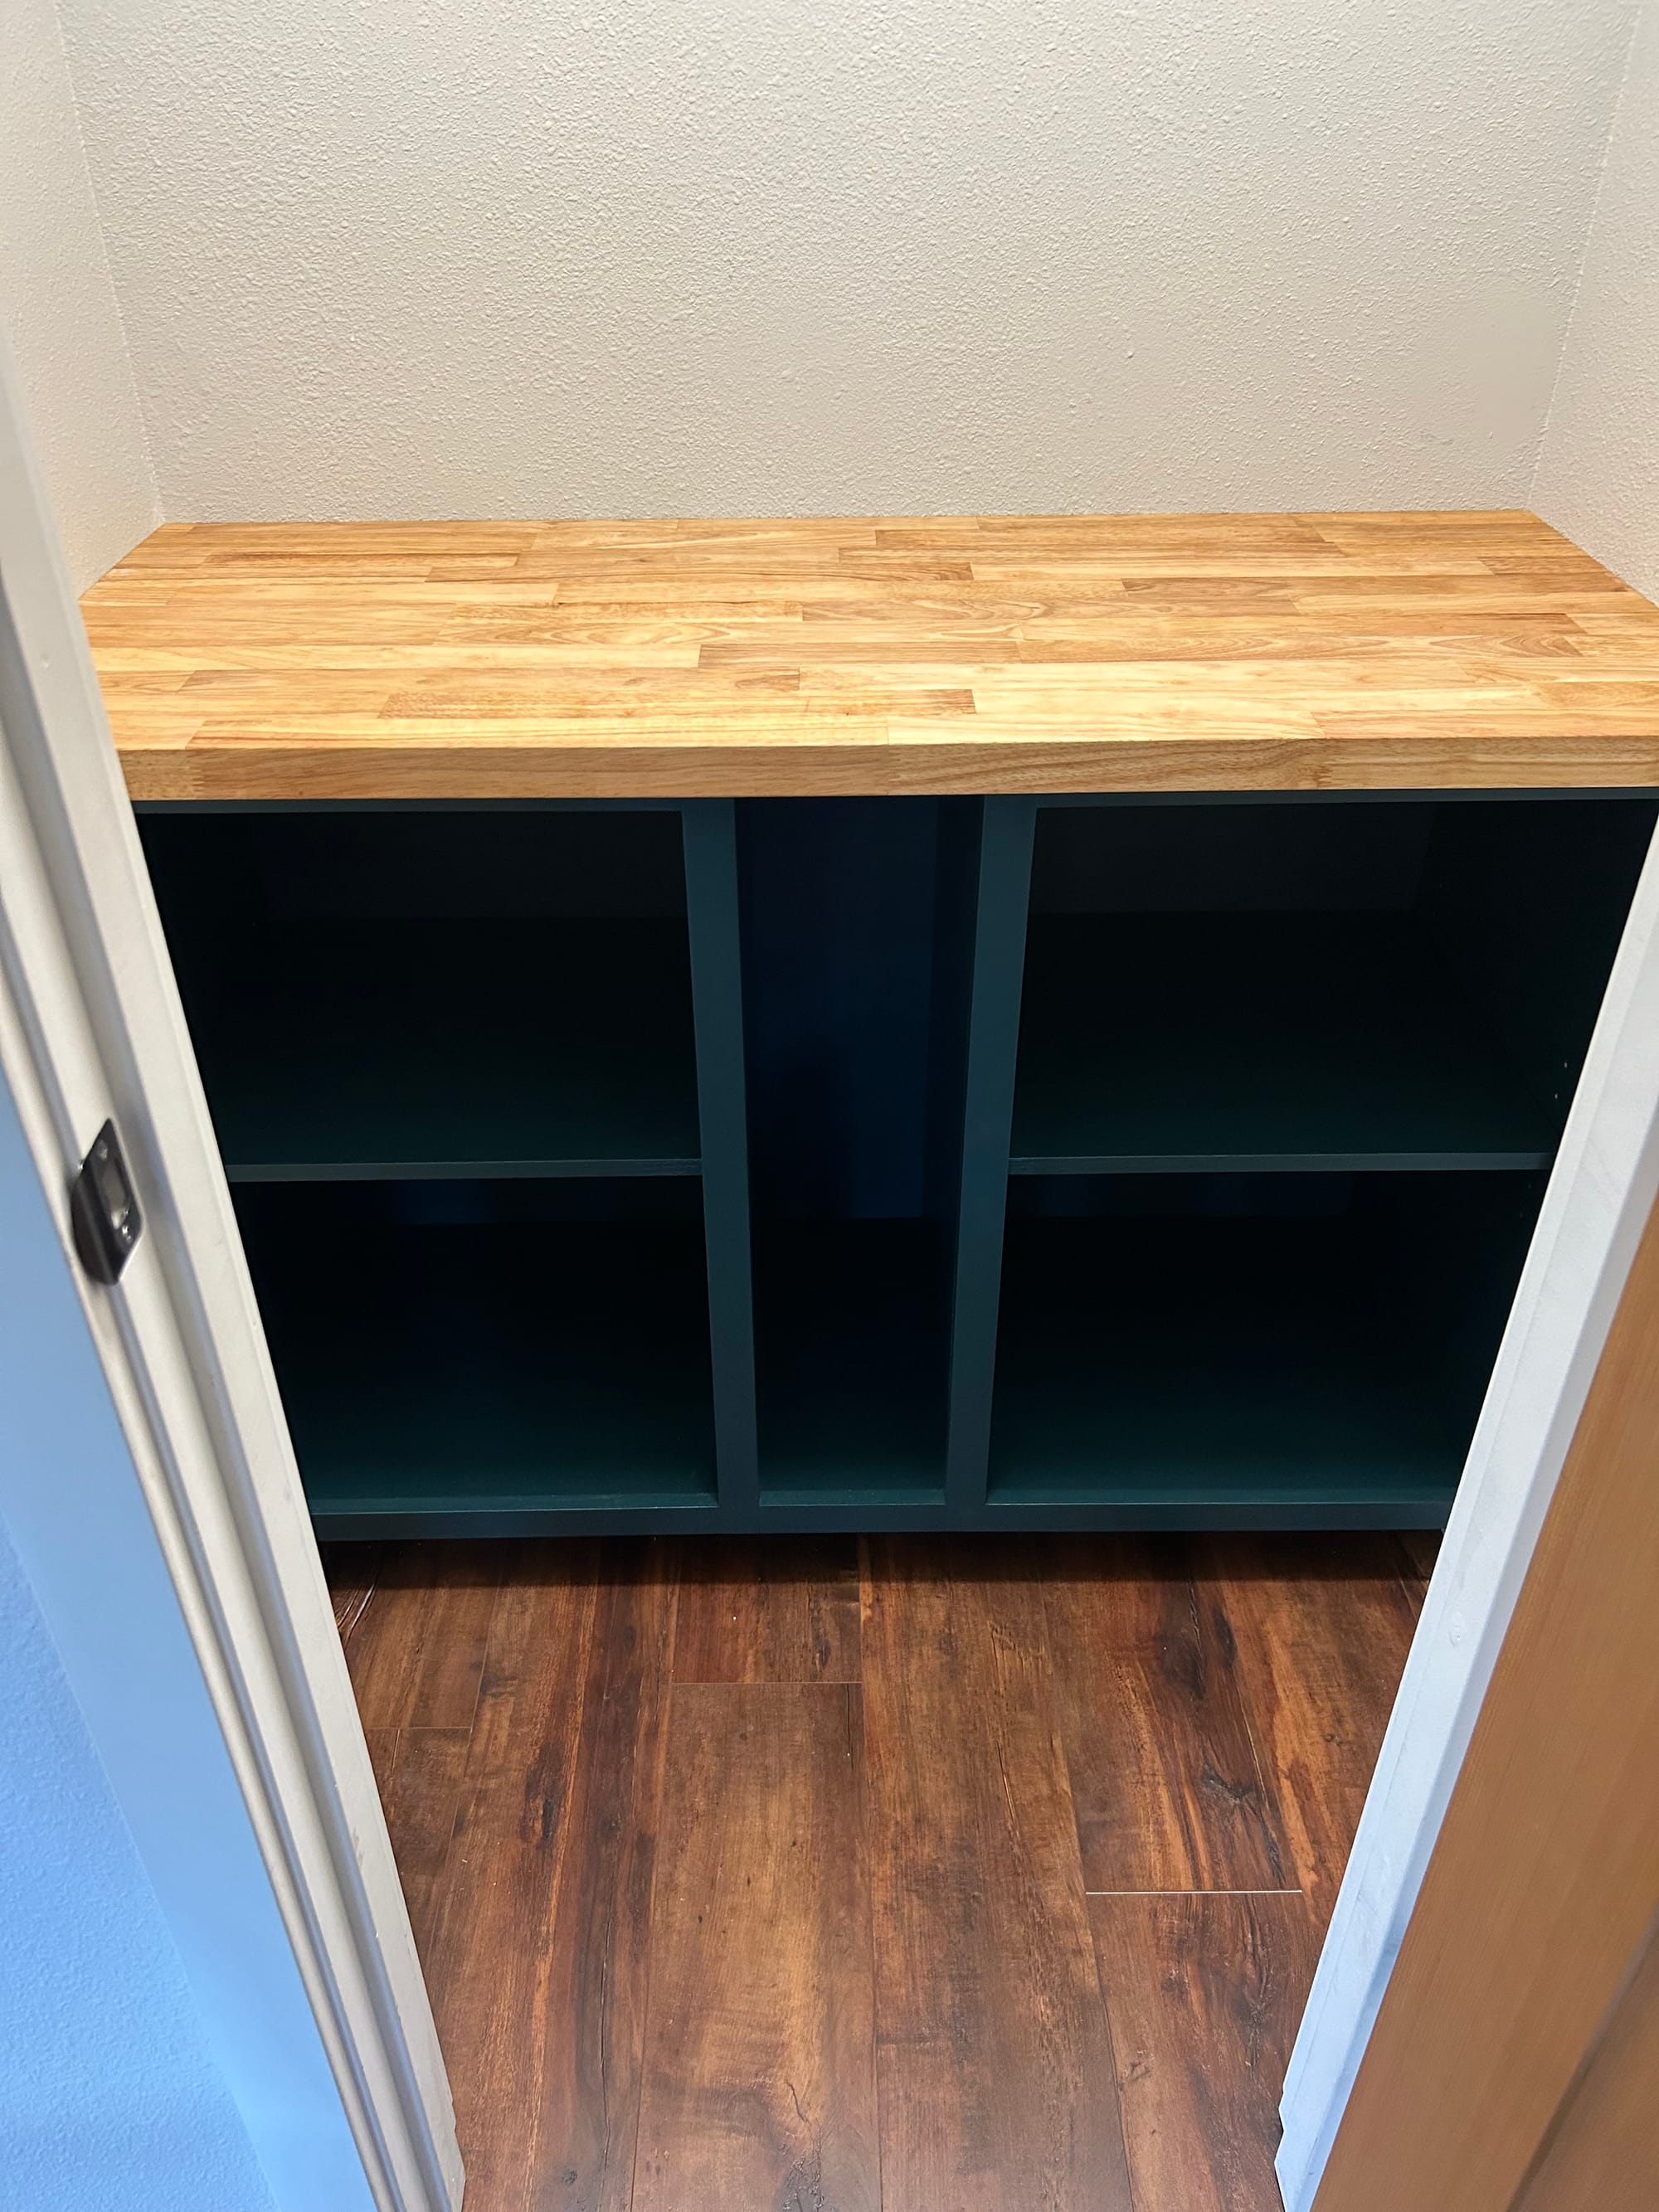
Now the bottom of the pantry was all done it was time to start on the upper shelves. We attached the cleats the shelves would sit on first.
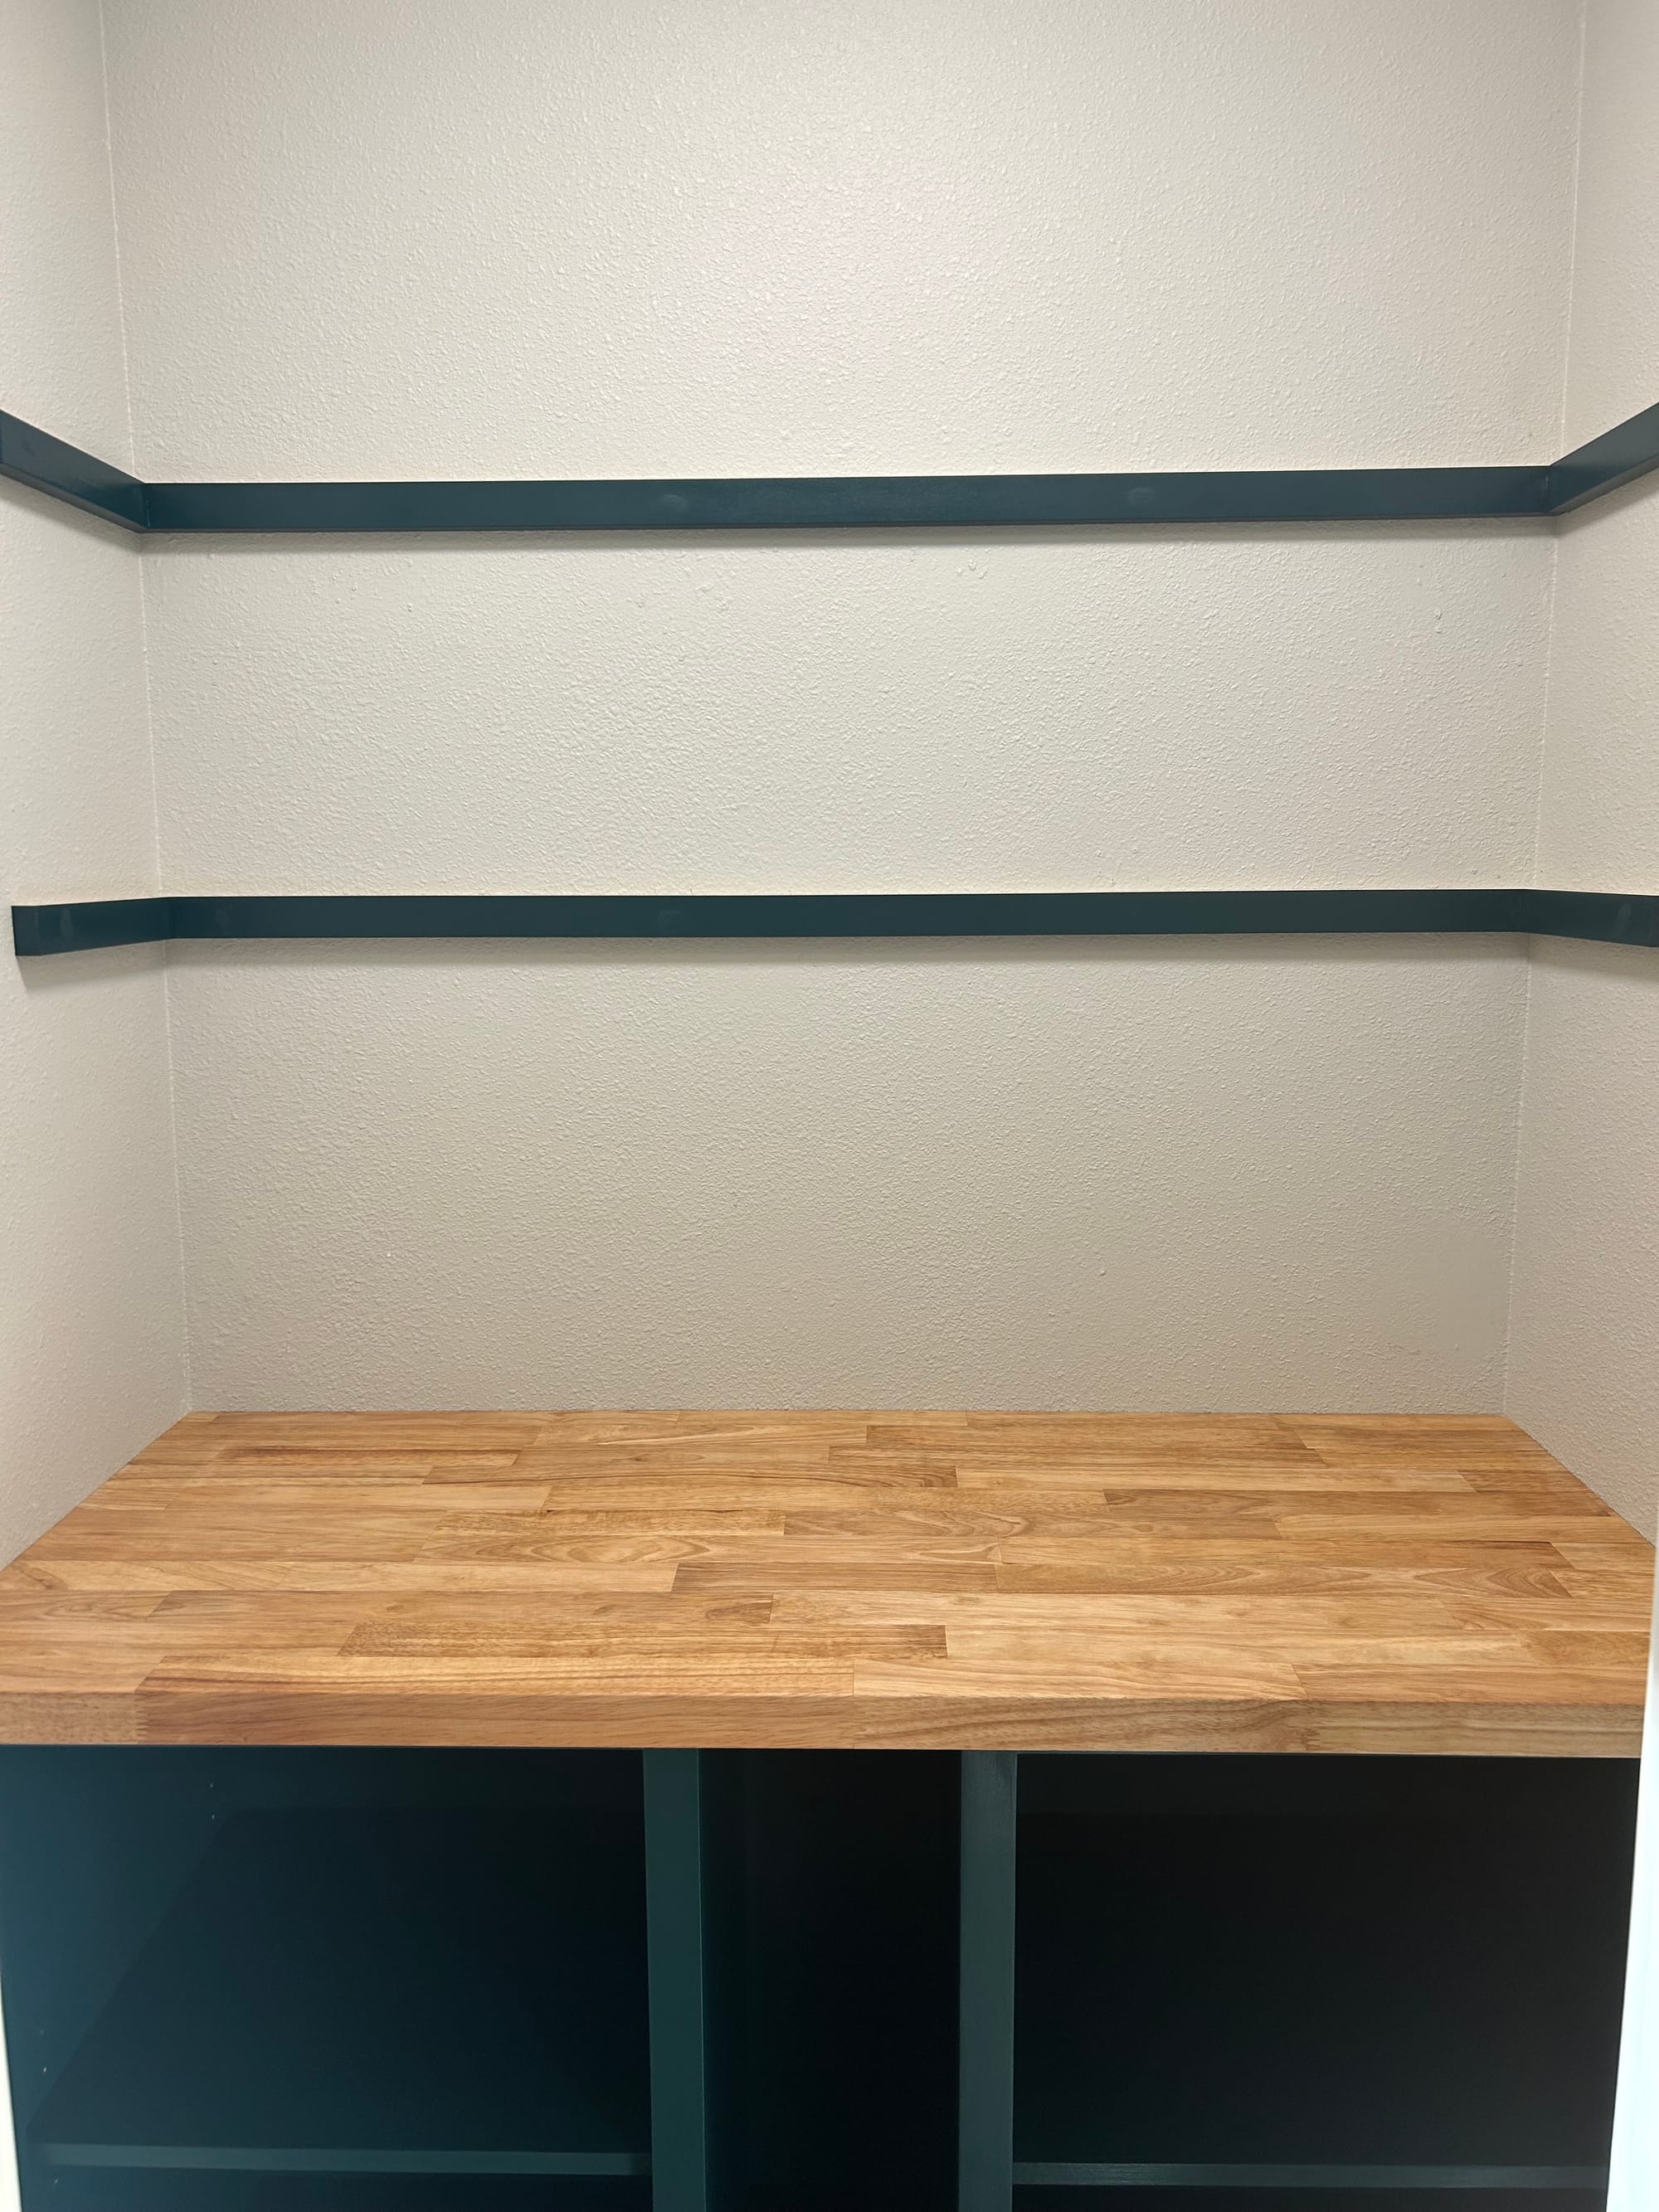
Then we cut and fit 2 long shelves. Next we painted and attach the shelves to the cleats.
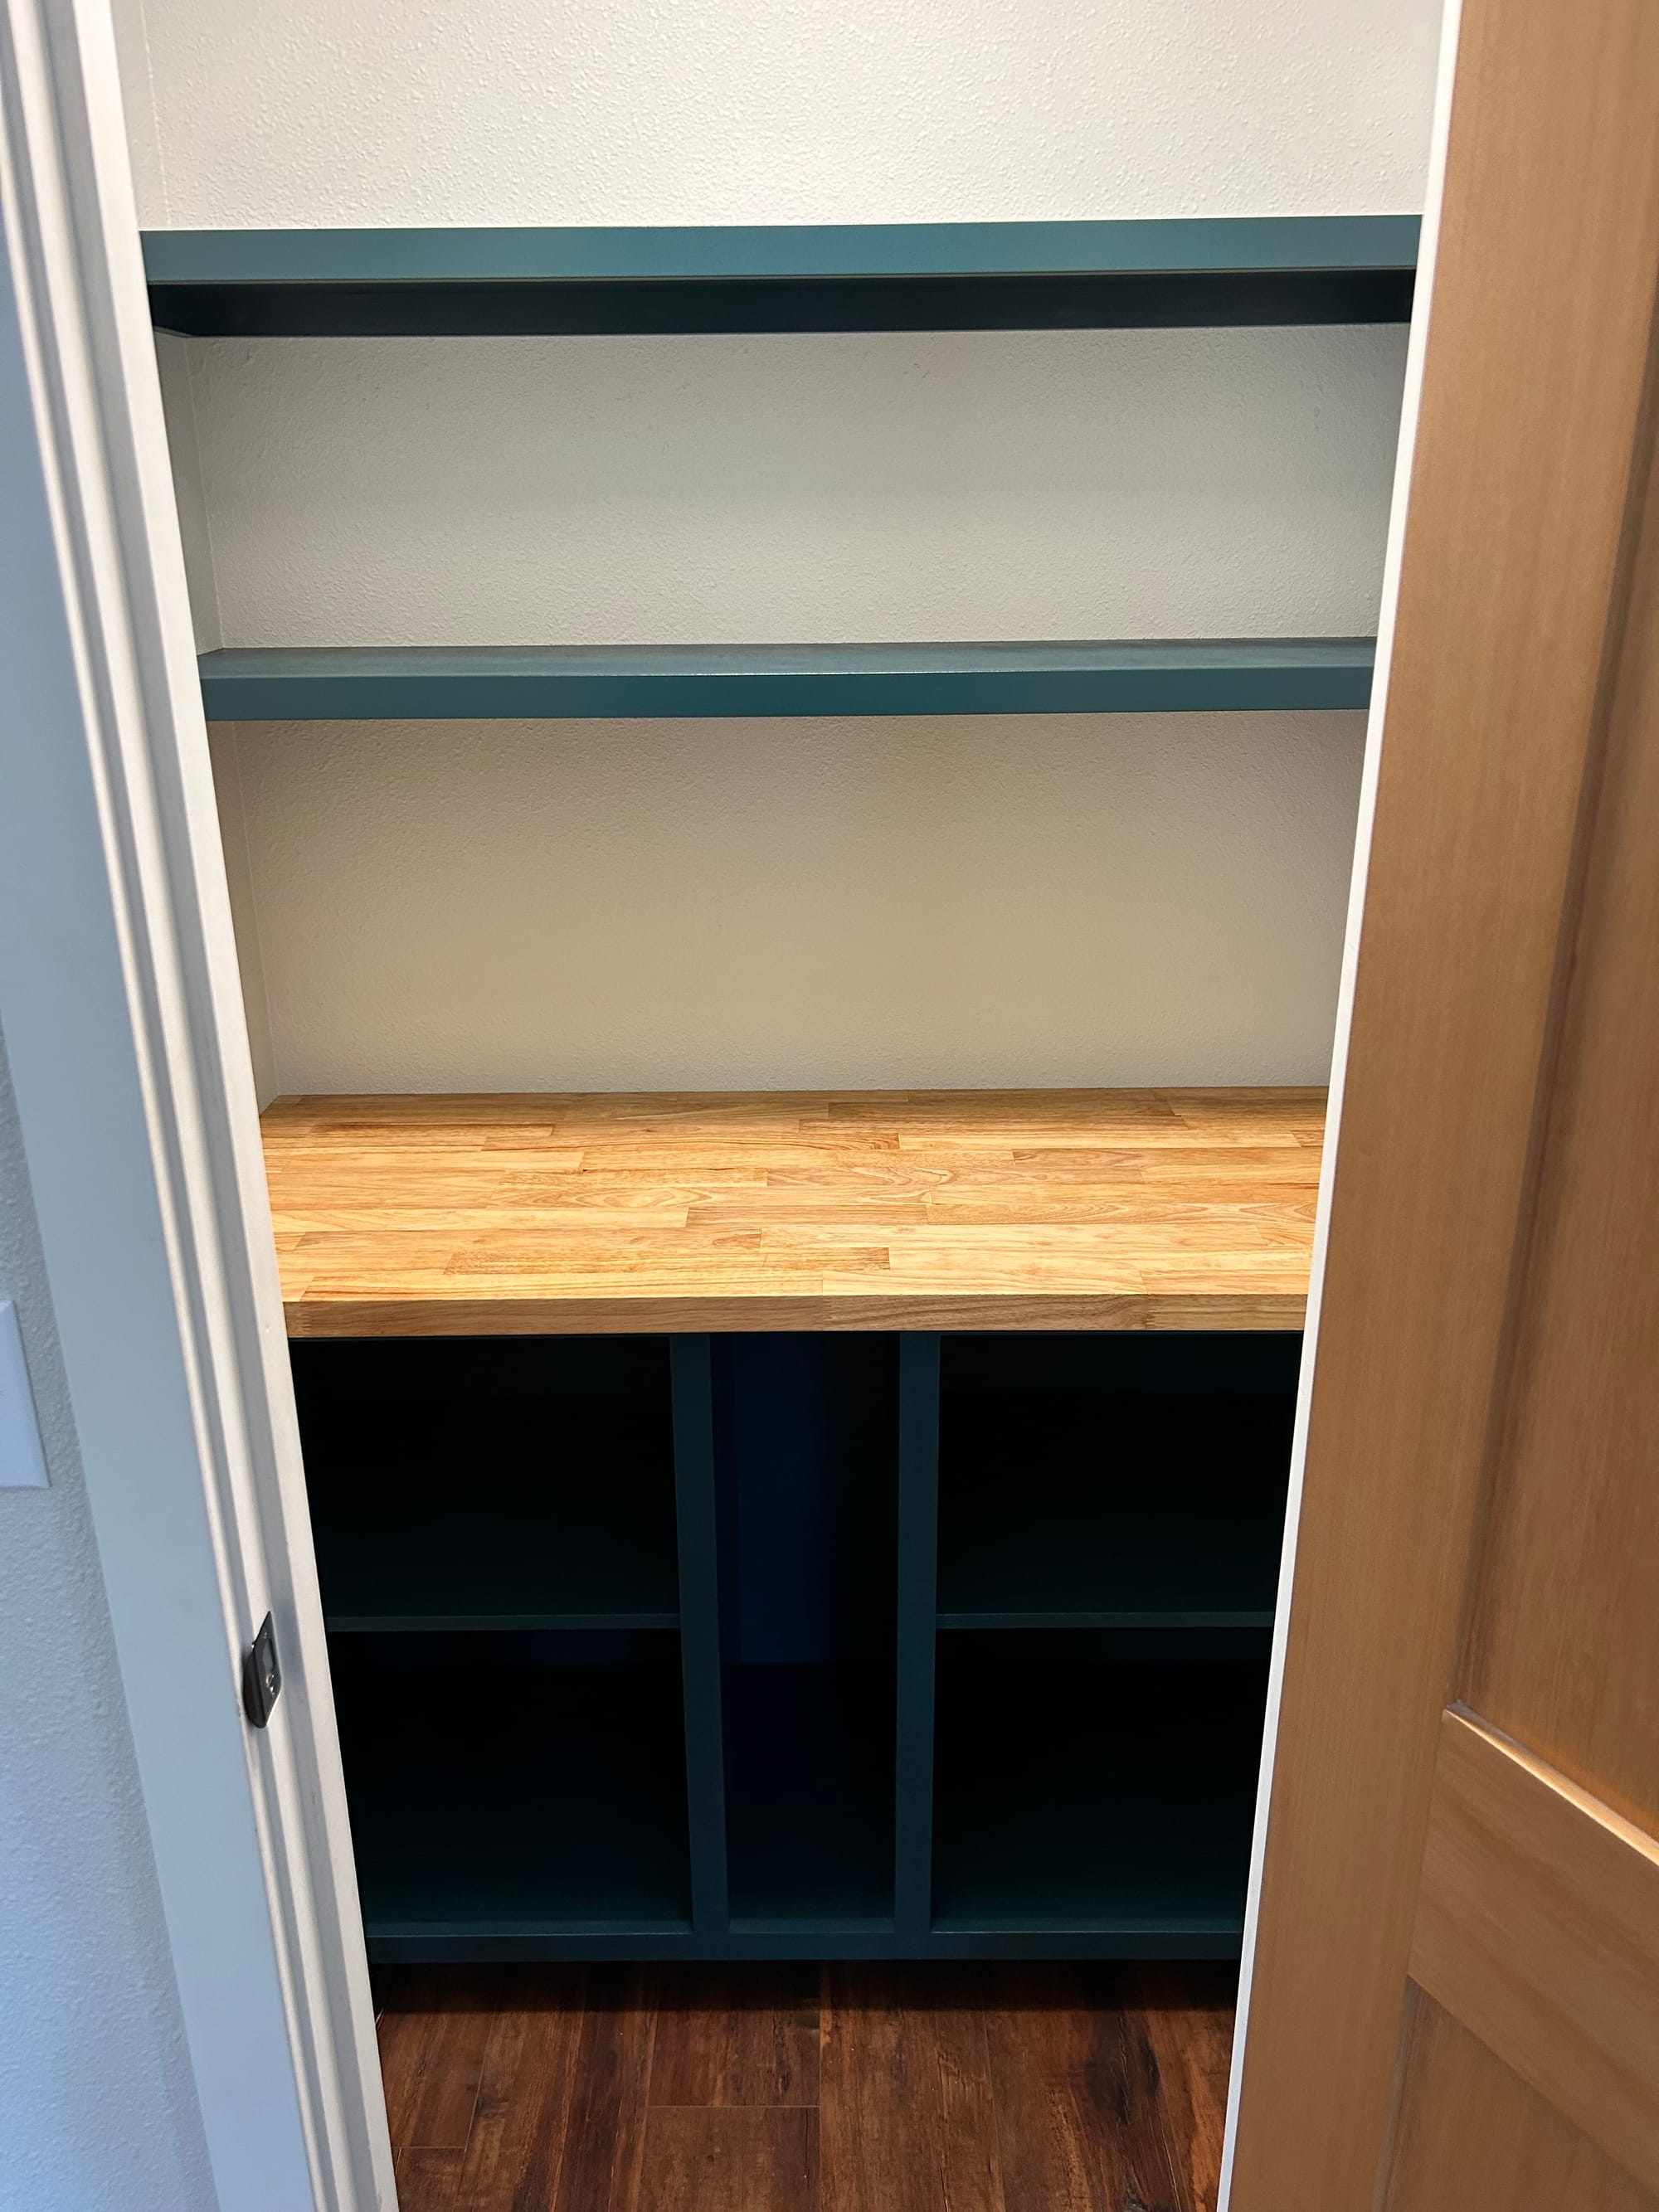
Then the final step was to get everything in the pantry all organized.
